Houses: Better builds
November 26, 2015 3:00 pm in Building, Settlements and Towns. 3 Comments
Ahoy thar, ye landlubbers!
My last blog post was about ships but I realise that not everyone wants to sail, This blog post is for those people! I’ll be telling you about houses and how you can build and improve them in this week’s post, so, without further ado, let’s get on with this!
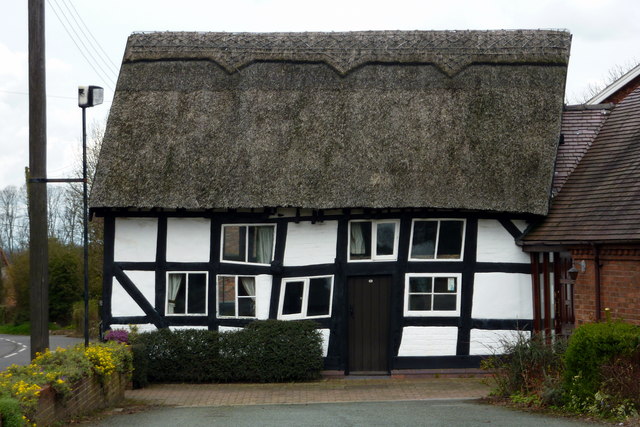
Now, we all know that medieval houses are the sorts of houses that we want to build on this server. When I say “medieval house”, the majority, if not all of you picture a house with wooden beams on a white background. These are Tudor houses, and were owned by the wealthier or more aristocratic medieval citizens.
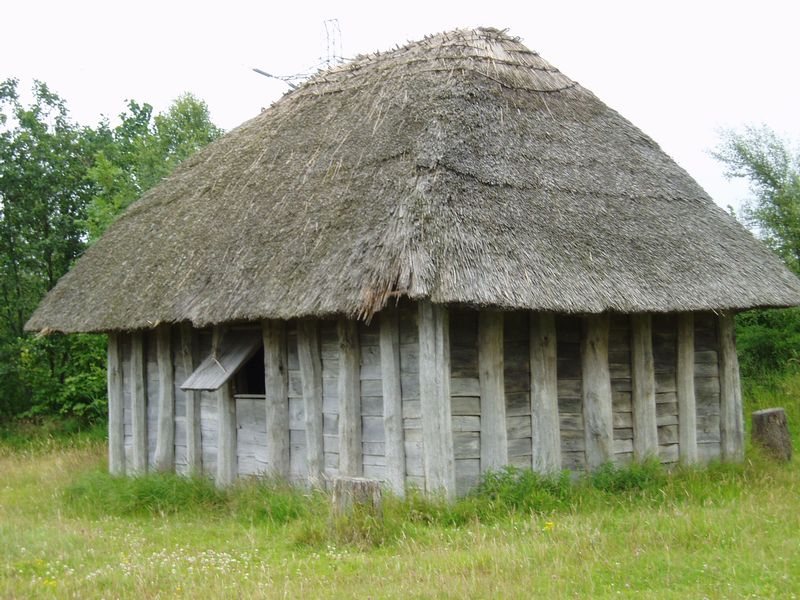
The majority of houses were made of sticks, straw and mud. The houses of the wealthy survived as they were made of stone, unlike the poorer people’s houses. For the purposes of simplicity, this post will focus exclusively on the Tudor houses mentioned above. If you want to see a blog post on the poorer people’s houses, let me know!
The Exterior
The house’s timber frame
This is how I recommend you start building the house. Creating regular sections using logs sets up a very nice framework to be worked with. If you want your house to have some headroom, you should build each wooden beam 4 blocks high per floor. The width varies, but I, personally, would recommend to not go any lower than 3 or any higher than 5 blocks in width. This ensures that the house’s frame is built in square-ish sections. Once you’re happy with your frame, which doesn’t necessarily have to be the same for each floor, move onto the next section!
The walls
The walls can be made up of several different blocks. The blocks that I would recommend using if you’re after a true medieval-period feel are (from lowest floor to uppermost as a recommendation): Cobblestone (or any other grey blocks, examples including stone or grey stained clay), planks (I’d recommend using planks that match the wood you used to build the frame, but it’s up to you) and white wool (or any other white blocks, for example, quartz or snow). These are, obviously, not compulsory blocks to use! Feel free to experiment, see what you can come up with! If you want to add depth to your build, this would be a good place to start. Building your walls one block behind the frames of your house will immediately add to the depth of the build.
The windows
When building the walls, it’s worth adding windows to the building. By leaving blocks out in the centre of each block of wall between each frame, you allow yourself a place to put the windows, either straight away, or later on in the building process. Adding windows leads to the inside of the building being lit naturally, which is a nice feature to have in any build. Why not experiment with stained glass, see what results you come up with?
The roof
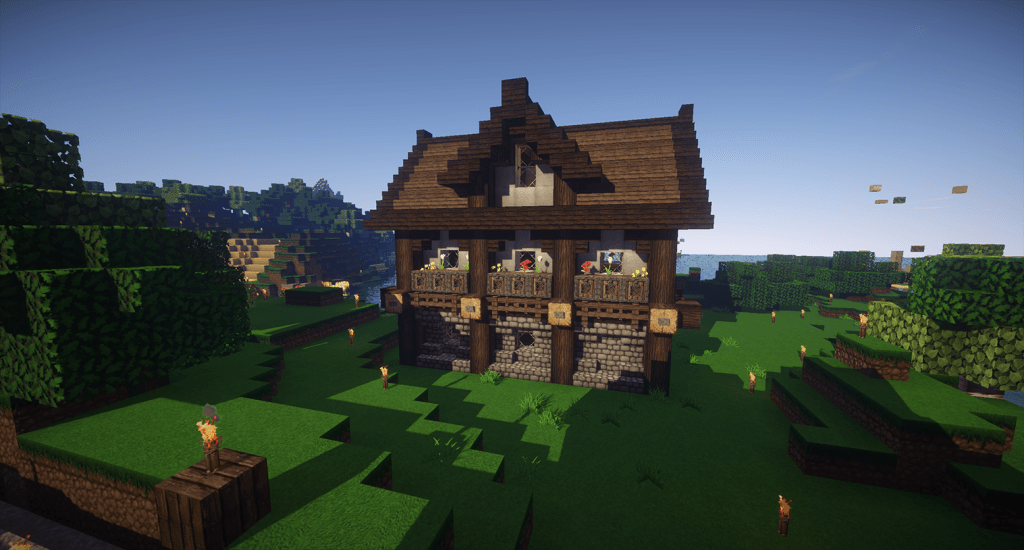
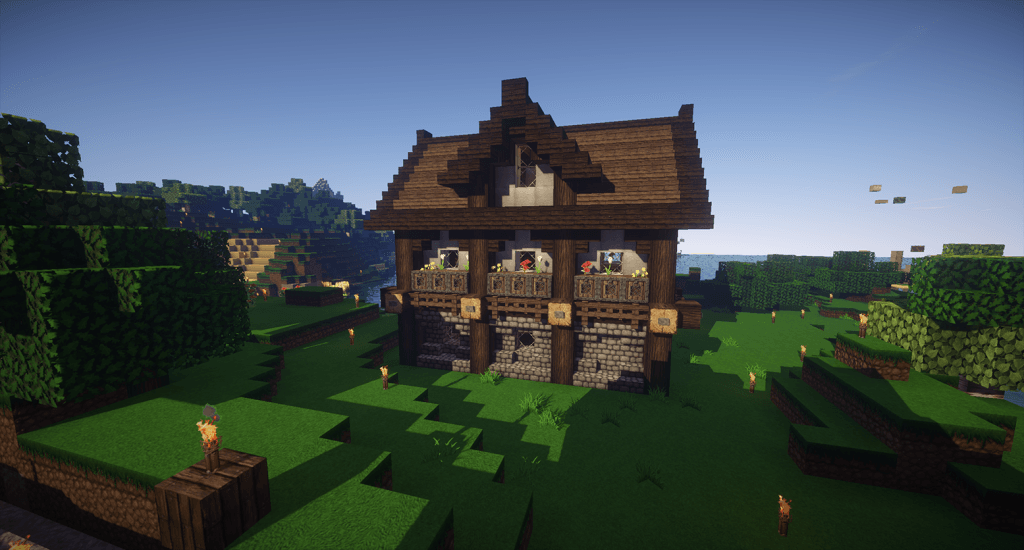
Generally, roofs on medieval buildings went along the length of the building, as opposed to its width. This doesn’t mean that you can’t build the roof along the width, but you may find it easier to build the roof along the length, and building along the length is more likely to add to the realism of the build, as well as potentially making the build look better. I’d recommend using two wood plank types for roofs; one for the main roof, and the other for outlining for the roof. In the screenshot below, you can see that a darker wood has been used for outlining, by being added to the edge of the hangover of the roof, as well as to outline the cross on top of the roof.
The interior
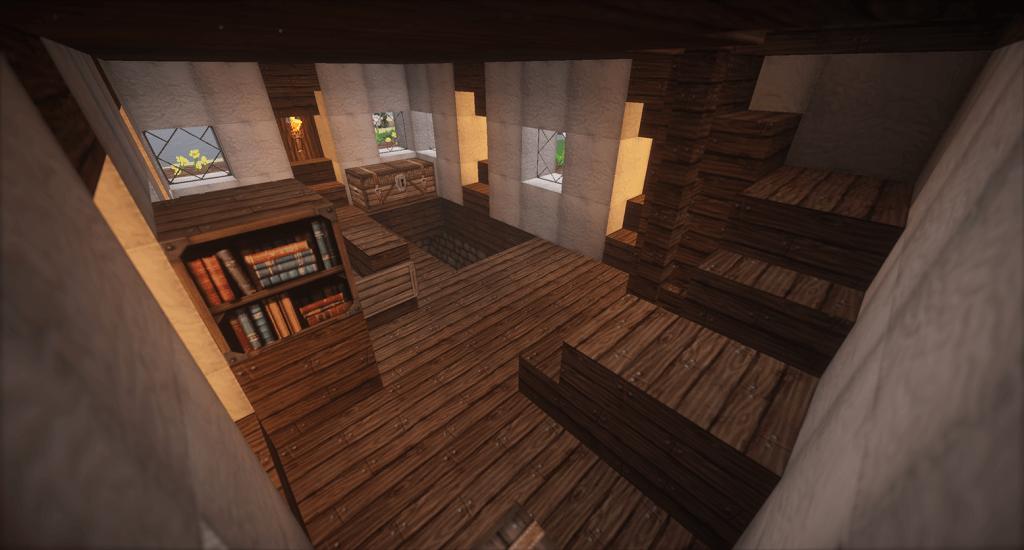
Though I can’t tell you how to build your house’s interior, I can make suggestions as to what I think may suit the character of the build.
The ground floor
Generally, houses during the medieval period, so the kitchen, dining area and lounge were often the same room. When building houses, thinking realistically, it would be appropriate to place this room on the ground floor (first floor if you’re American) Things you may want to consider putting in this room may include, but are not limited to:
- Furnace/cooking station
- Crafting table
- Dining Table
- Chairs
- Fireplace
- Sink (be creative!)
The first floor
If your house has only two levels (ground & first (first & second) floors), then I would recommend having a bedroom on that floor. You might consider putting the following things in the bedroom:
- Bed
- Bookcase
- Chests
- Flowerpots
If your house has a floor above the first floor, then you might decide to move one of the rooms mentioned under the ground floor to your first floor, and have your bedroom on the second floor. Alternatively, you might decide to have a different room, such as a study, on the first floor.
The second floor
If your house has a second (or third) floor, then you may decide to use it as an attic for storage if you have a bedroom on the first floor. If you’ve built something else on your first floor, then the second floor is the obvious place to put your bedroom.
Lighting
If, when building the frame and walls of your house, the frame of your house internally isn’t covered with the block you chose to build, then you could place stairs on the inside of the frame, the right way up at the bottom block, and upside-down on the top block. If your wall is 3 bocks high, you won’t be able to walk into the frame. In the block’s gap that’s left, you could place a torch to add lighting to your house. If your wall is taller (or shorter) than 3 blocks, you could place torches on the inside of your wall.
I would like to apologise for how long you’ve gone without a better builds post. Please do not throw rotten tomatoes at me! As of late I have been very busy with real life, as some of you know, with recent big things (university, moving out, that sort of thing) happening all at once. Now that things have settled down a bit, I will continue to try and produce these regularly, but unfortunately no promises can be made. Now, onto what you want to see!
I hope you enjoyed reading the latest in this series! Feel free to leave any suggestions of your own in the comments below, so that we, as a community, and improve the quality of our builds! If you have a house that you’d like to see feature in an upcoming blog post in a different series, please fill in the form with correct co-ordinates, and I’ll be sure to take a look!
View Other posts by Charlie
Written by Charlie
Categorised in: Building, Settlements and Towns
Tags: 1.8, 1.8.8, Abode, Abodes, Build, Building, Exterior, Exteriors, Hamlet, Hamlets, House, Houses, Interior, Interiors, Medieval, Medieval Hamlet, Medieval hamlets, Medieval house, Medieval Houses, Medieval settlement, Medieval settlements, medieval town, Medieval towns, minecraft, minecraft 1.8, Minecraft 1.8.8, Minecraft build, settlement, Settlements, Stair, Stairs, Step, town, towns, Village, Villages
Posted on November 26, 2015

3 Comments
Crazy Pirate
Minor Décor next! Small touches (item frames, wardrobes, shelves, etc) since those really make a room, or indeed, a house, a home.
PaulOnFire
Enjoyed this blog as always. GJ, look forward to the next one! 😀
iOdiwanKenobi
I like my box, but I can try something new. I just stick with my box because it’s siege proof, @Elexandre I don’t care how it looks, it’s the inside that will count. (It doesn’t at the moment)