MineCraft Advanced Redstone; Creating moving doors, draw bridges and portcullis gates.
PirateCraft gives you the ability to build working drawbridges, swinging doors, sliding doors and portcullis gates of any size, They can be Redstone controlled, giving you major flexibility for any design you can think of when making your builds useable.
We currently have 2 different ways of making these, the first method we just call /doors let you create all types of doors/gates/bridges but have a downside by using client-side blocks while they are being animated and turn into server-side blocks when their animation stops. This means you can walk/fall through them when the door is mid-process of opening (or a positive if you are making traps out of them!). Each rank update unlocks the use of more /doors as these are saved to each user.
The second alternative is what we call “Classic Gates and Bridges” as these have been around as long as the server, The classic method allows creating portcullis gates and bridges which only use Redstone to control but move the actual blocks as they animate into place, so you can stand/push with them (Like a piston moves a block). These do not require any command and you can create infinite Classic Gates and Bridges as they are not linked to a player!
How to create working animated Minecraft Doors, Gates and Bridges.
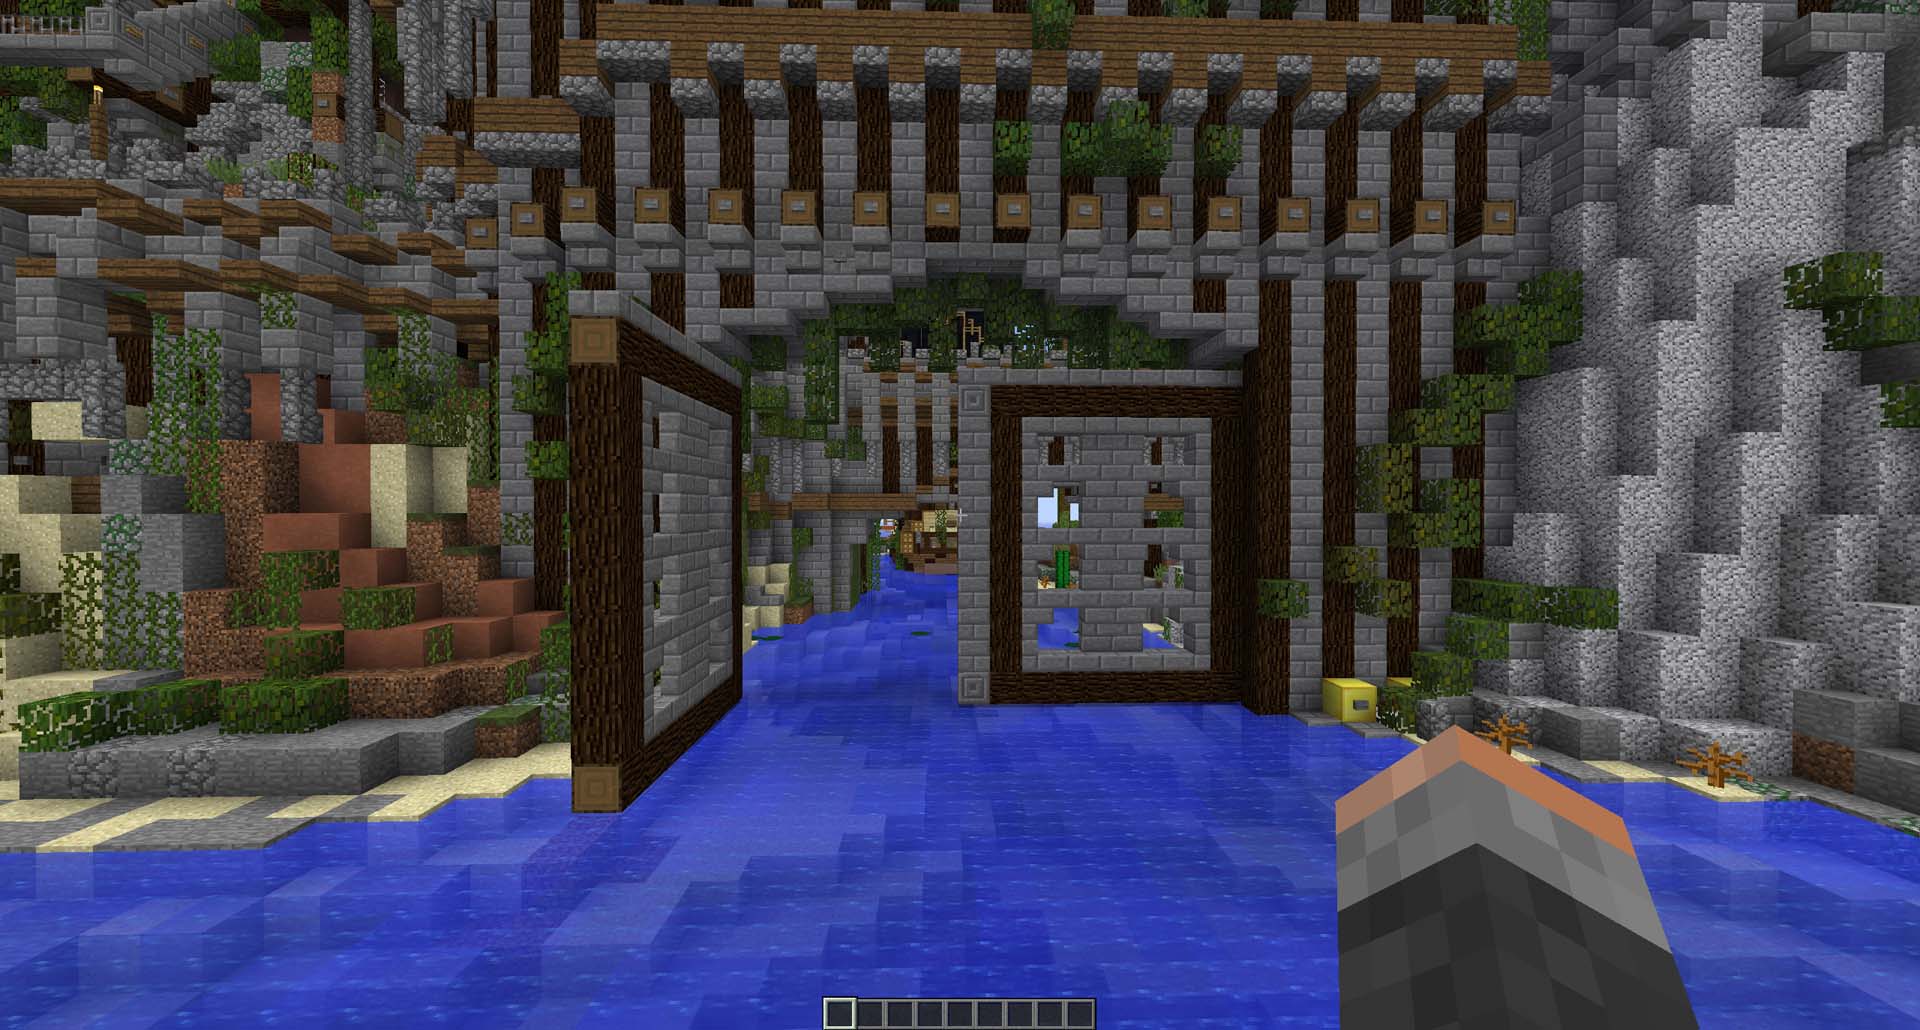
You can visit /warp cove to try out demos of each of the 4 doors/gate/bridge types available when using the PirateCraft /doors or watch the video below!
Example Doors, Gates and Bridges at cove
How to make swinging doors on hinges
The first thing you need to do is build your swinging doors! We will start with 1 but you can connect multiple doors together using Redstone later on!
Video Tutorial
We have both a video tutorial and text tutorial below you can follow to learn how to use /doors.
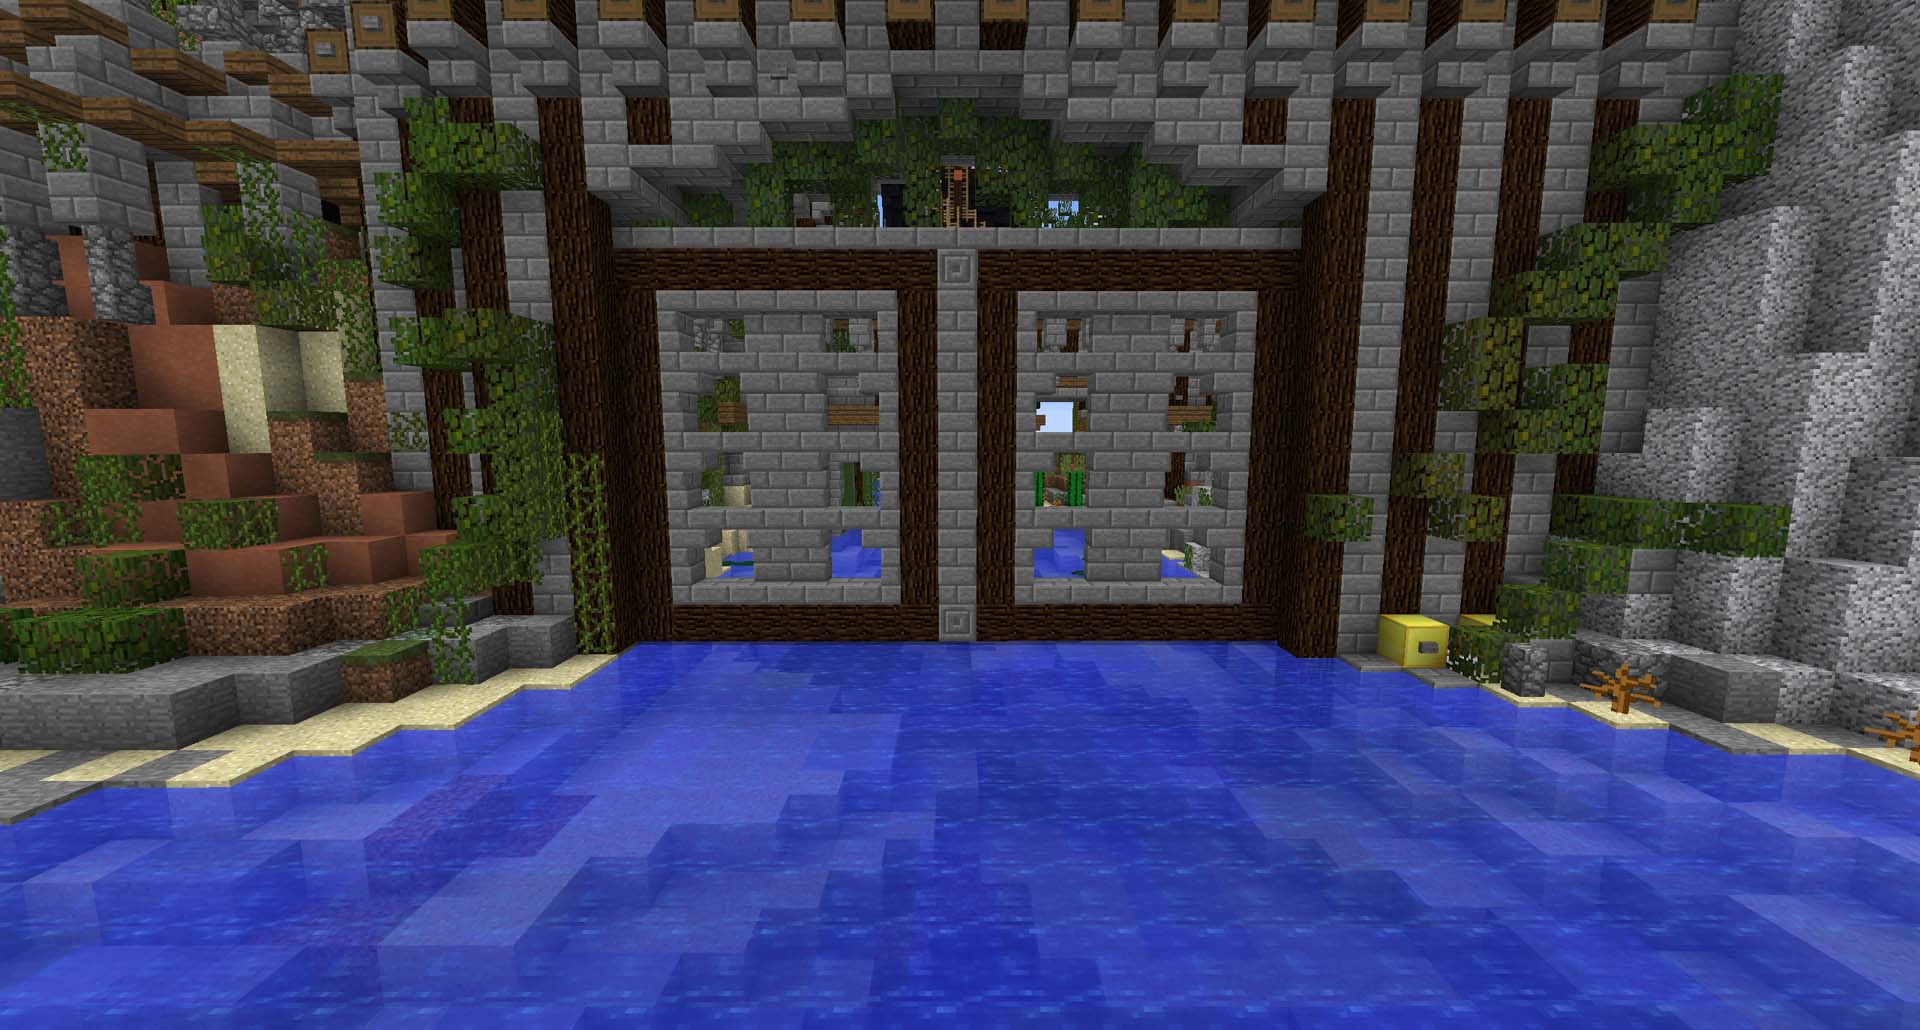
1. Build your swining doors
Build your finished doors first!
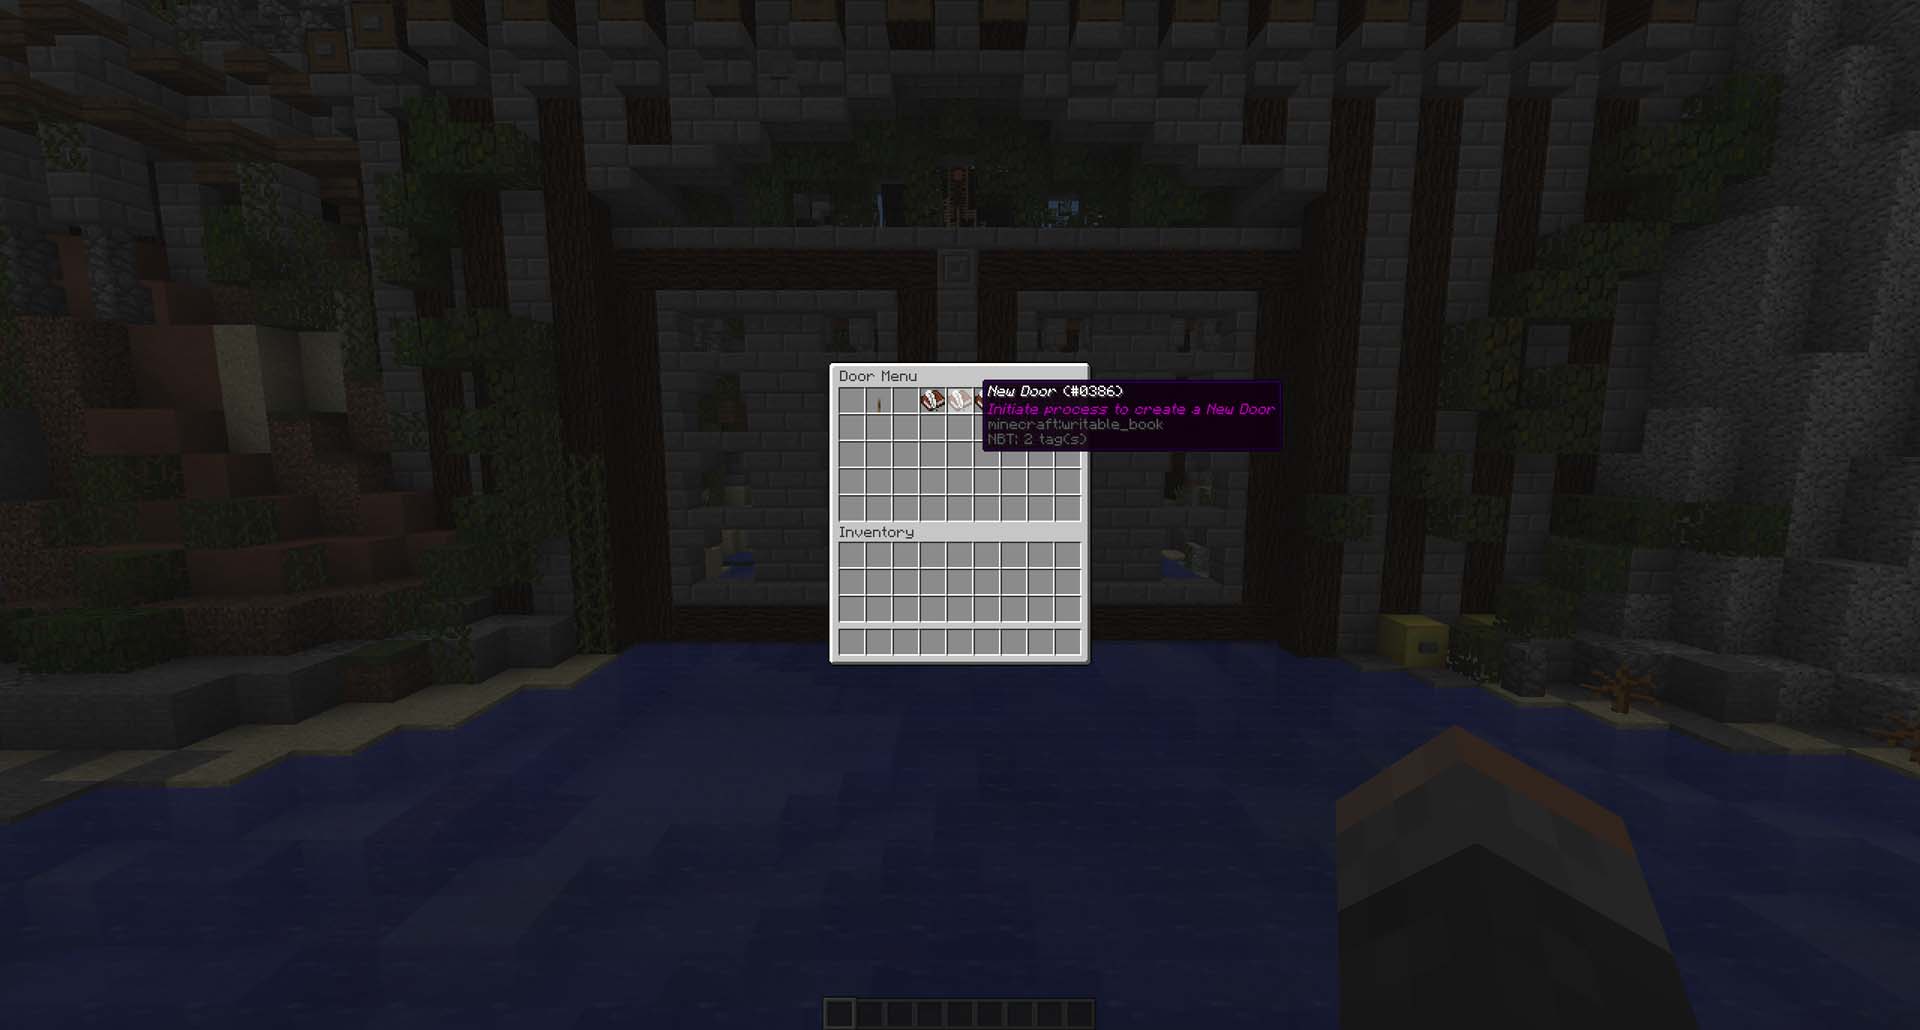
2. Name Door
Use /doors and click on and click the New Door button!
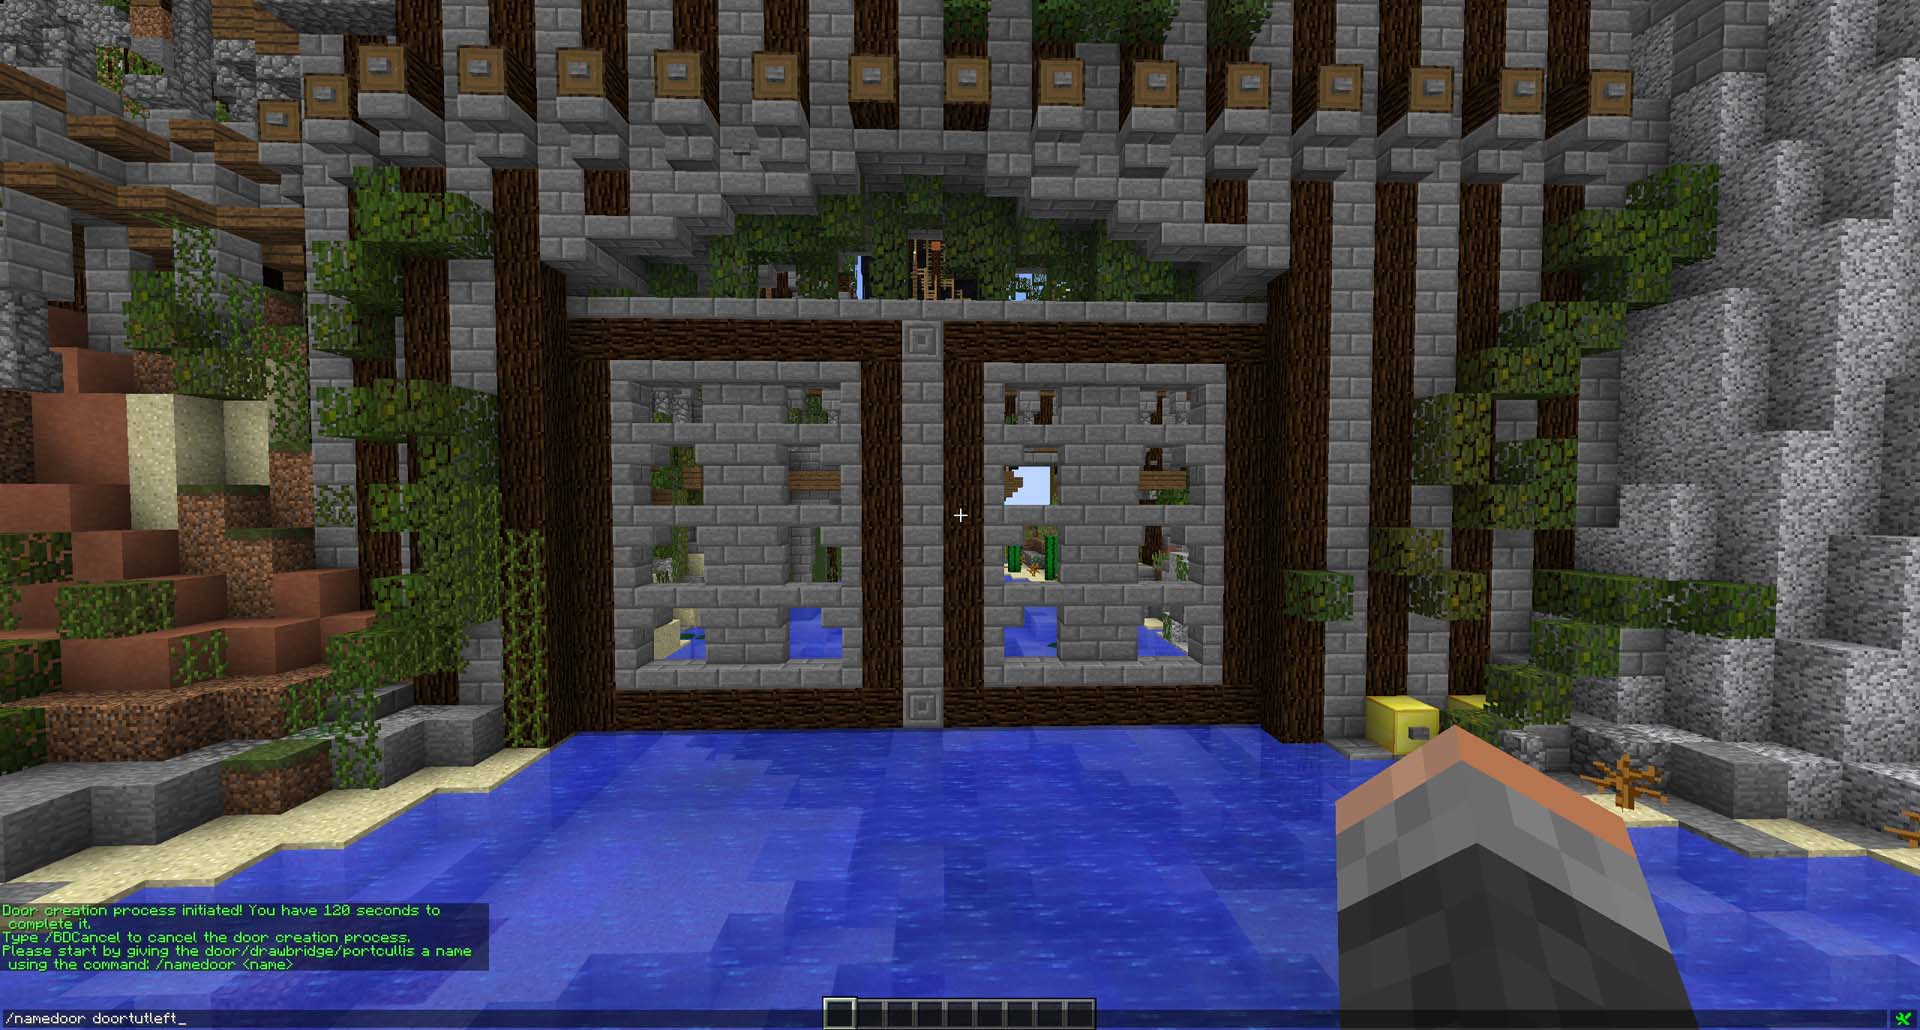
3. Name your door
/namedoor <doorname> (non-numerical name)
4. Make your Door!
You will be given a “Big door creator stick” which you can use to define your door by clicking in opposite corners of your door!

4a. Select the top right of the Door by right-clicking with your selection tool.
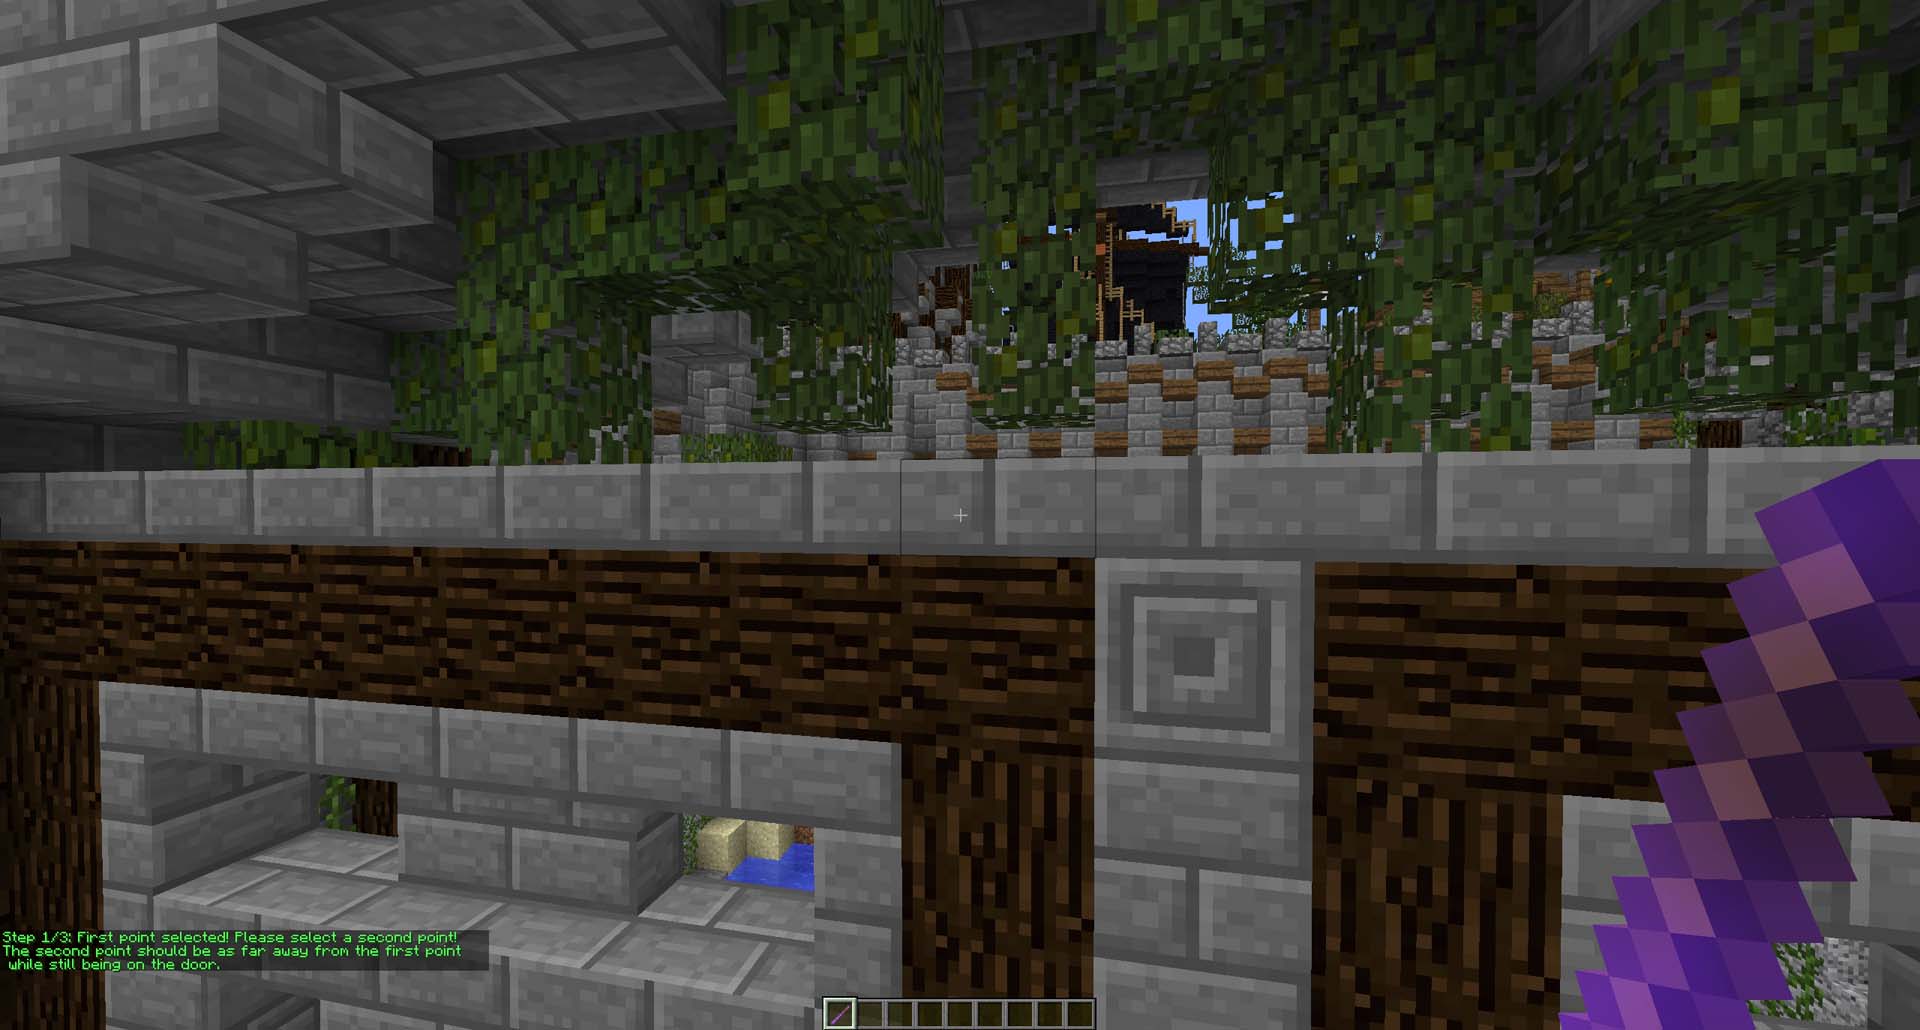
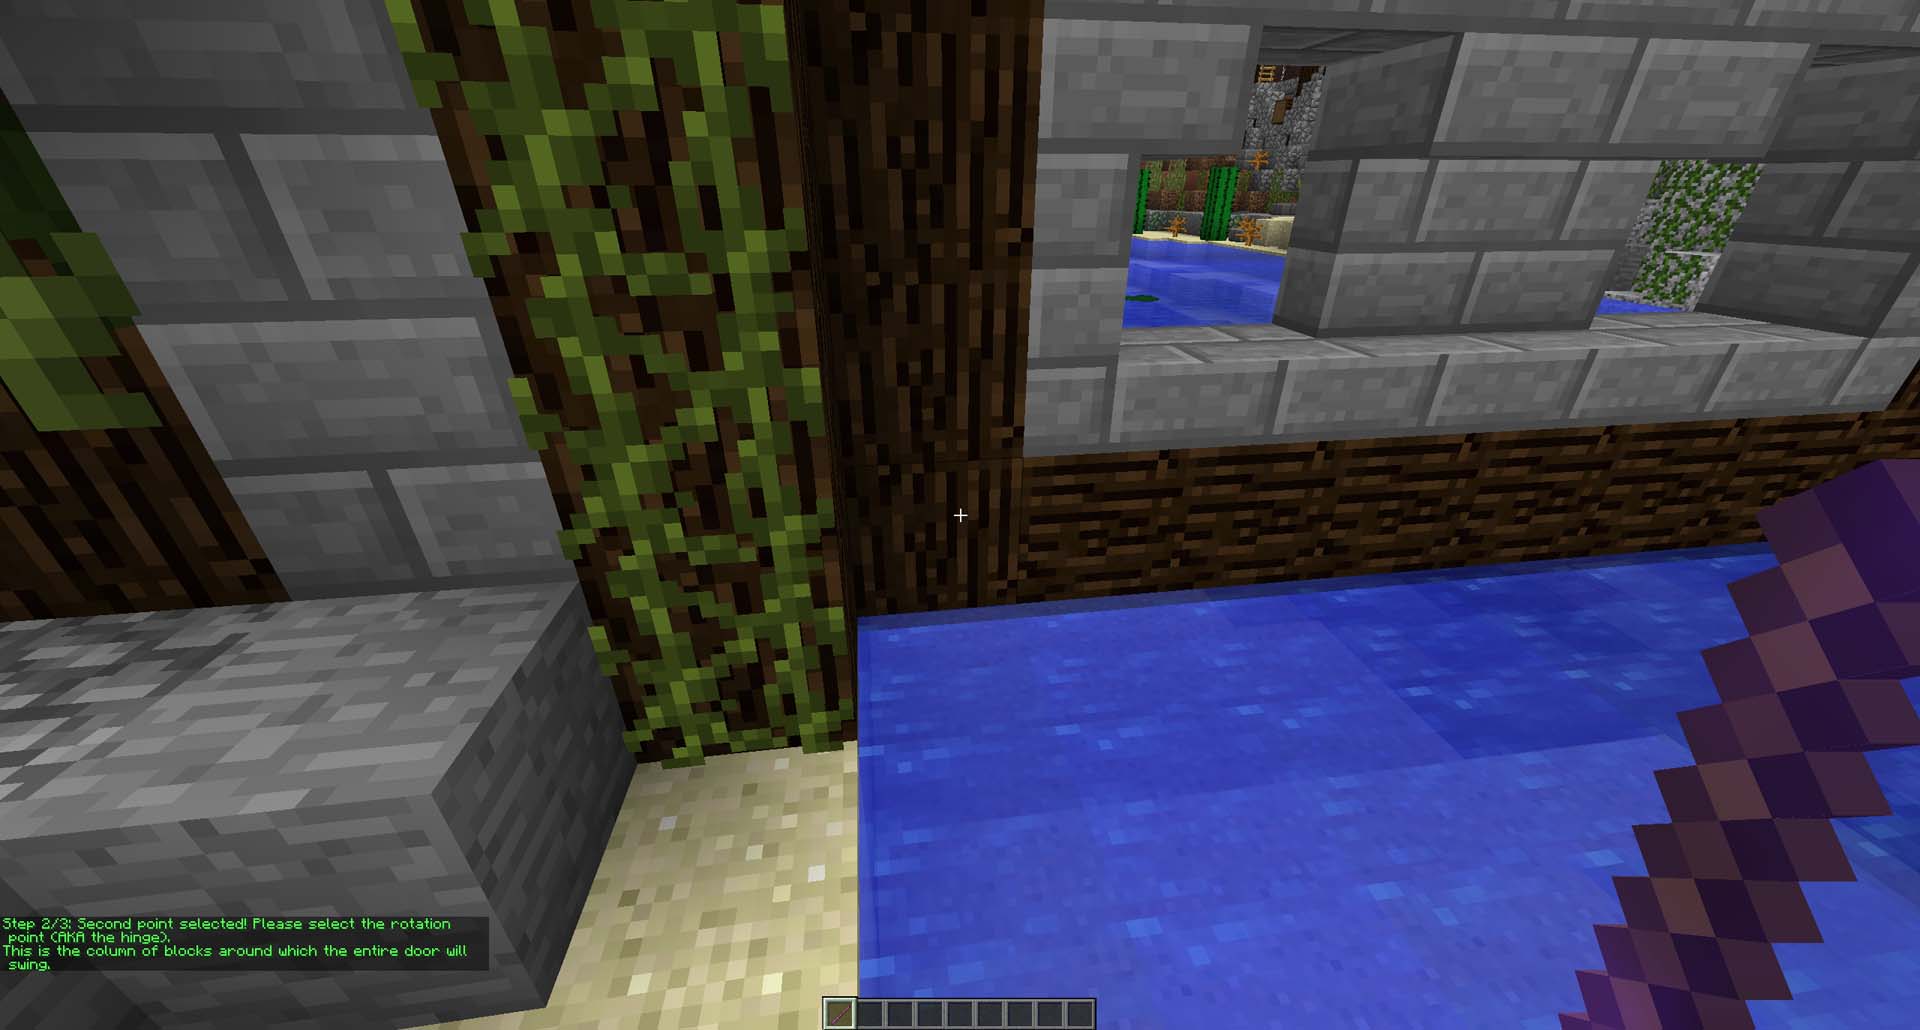
4b. Selecting the bottom left of the door by left clicking with your selection tool
4c. When promoted, select the doors hinge (the verticle column of blocks you want the door to rotate around) This can be anywhere in the verticle column of blocks.
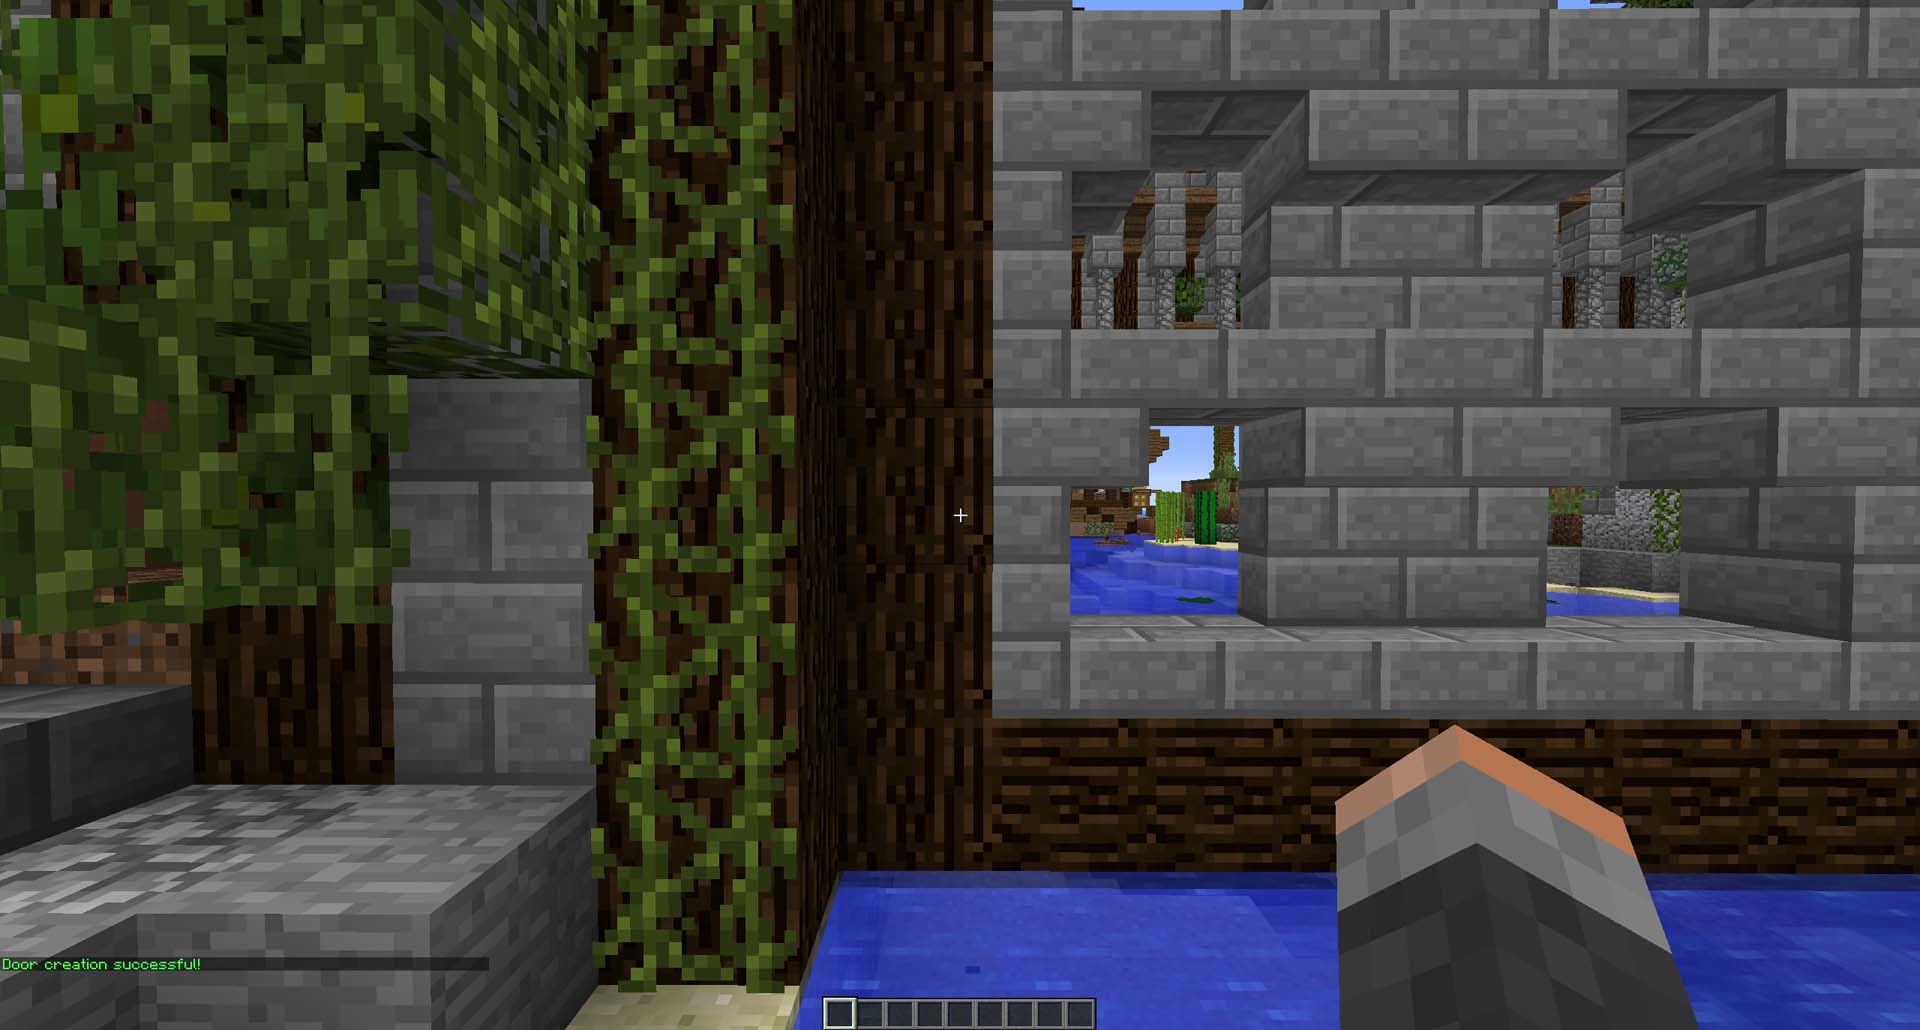
4d. Your door has now been created and ready to use if no blocks are obstructing the path of the door to open! You will be greeted with the following success message!
5. Toggle door open/shut from GUI
You can toggle the position of your door from the /doors GUI to test works! Open up /doors and click on your door name, then click “Toggle Door” to open your door, you can go back here to close it again!
If anything fails, check there is nothing in the way of its path! Check for items placed on the side of blocks like Vines, Ladders or Item frames!
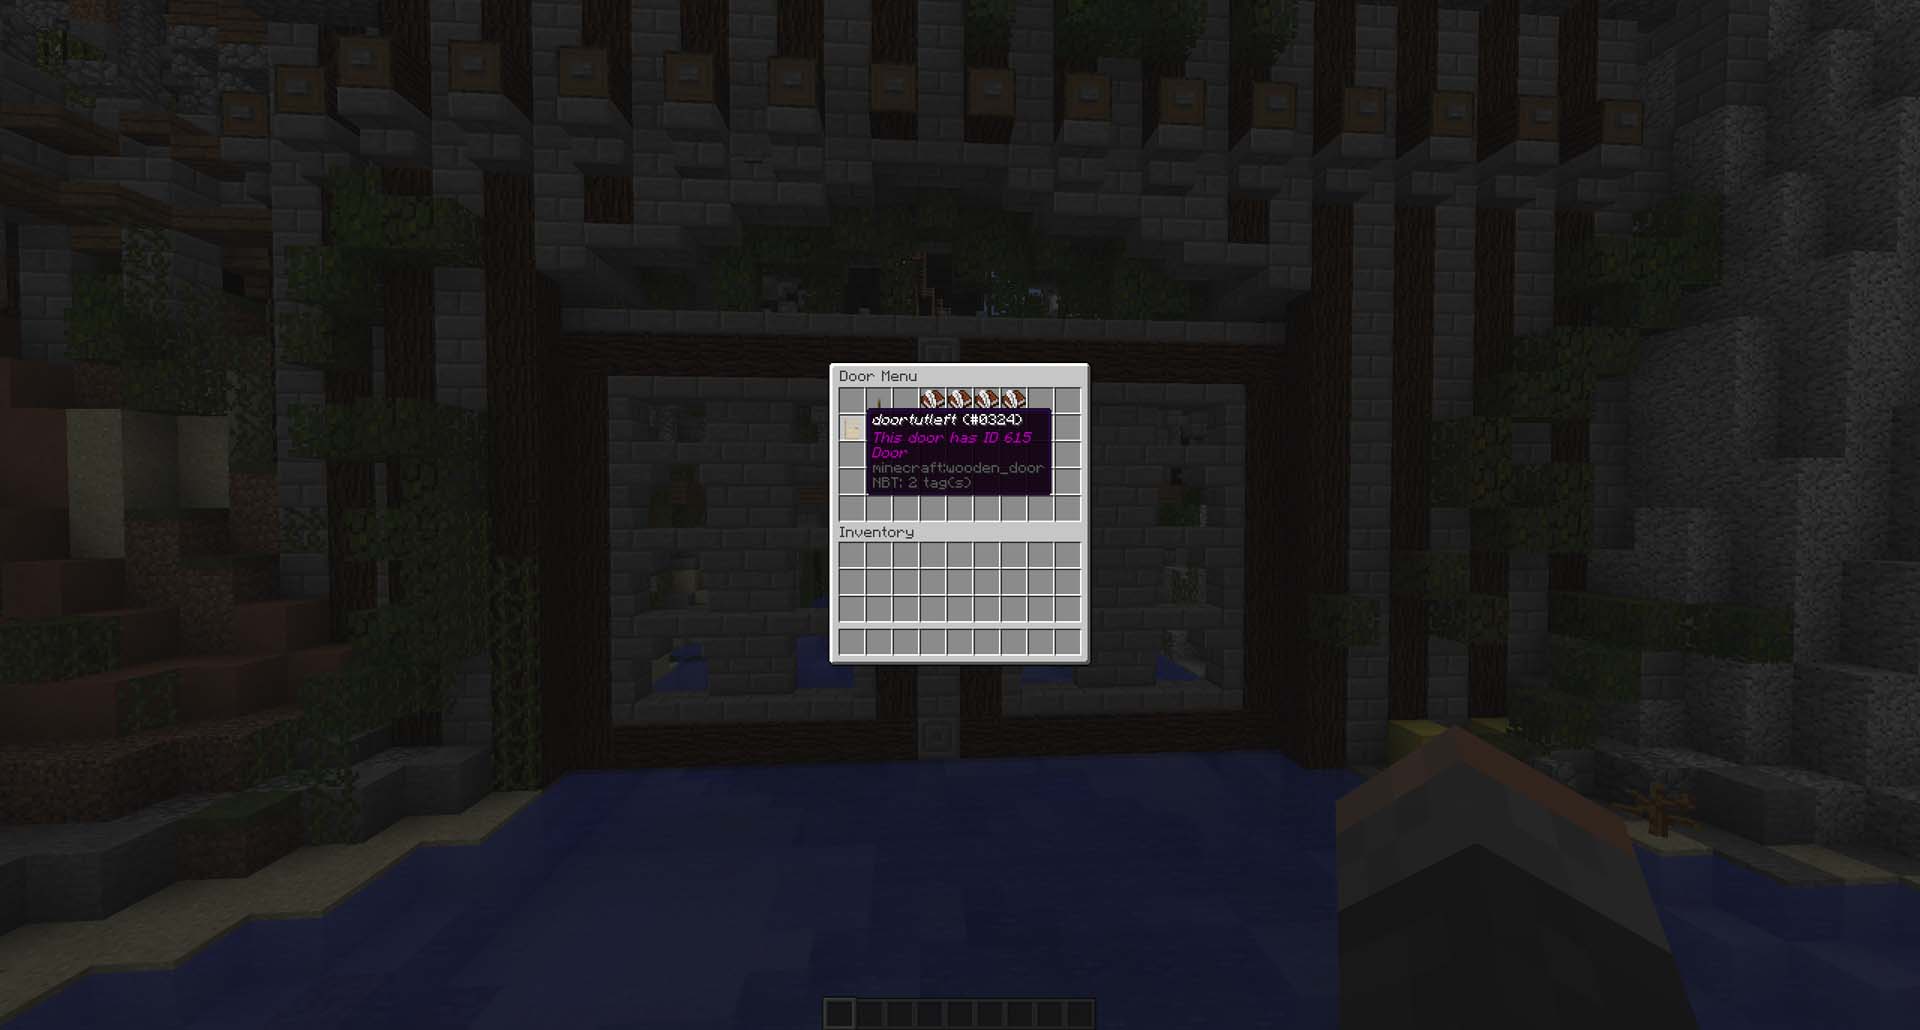
5a. You will see your door in /doors

5b. Toggle your door open/shut.
5c. The door now opened!
If you messed up the selection don’t worry! you can delete the door from /doors and do it again as many times as you want!
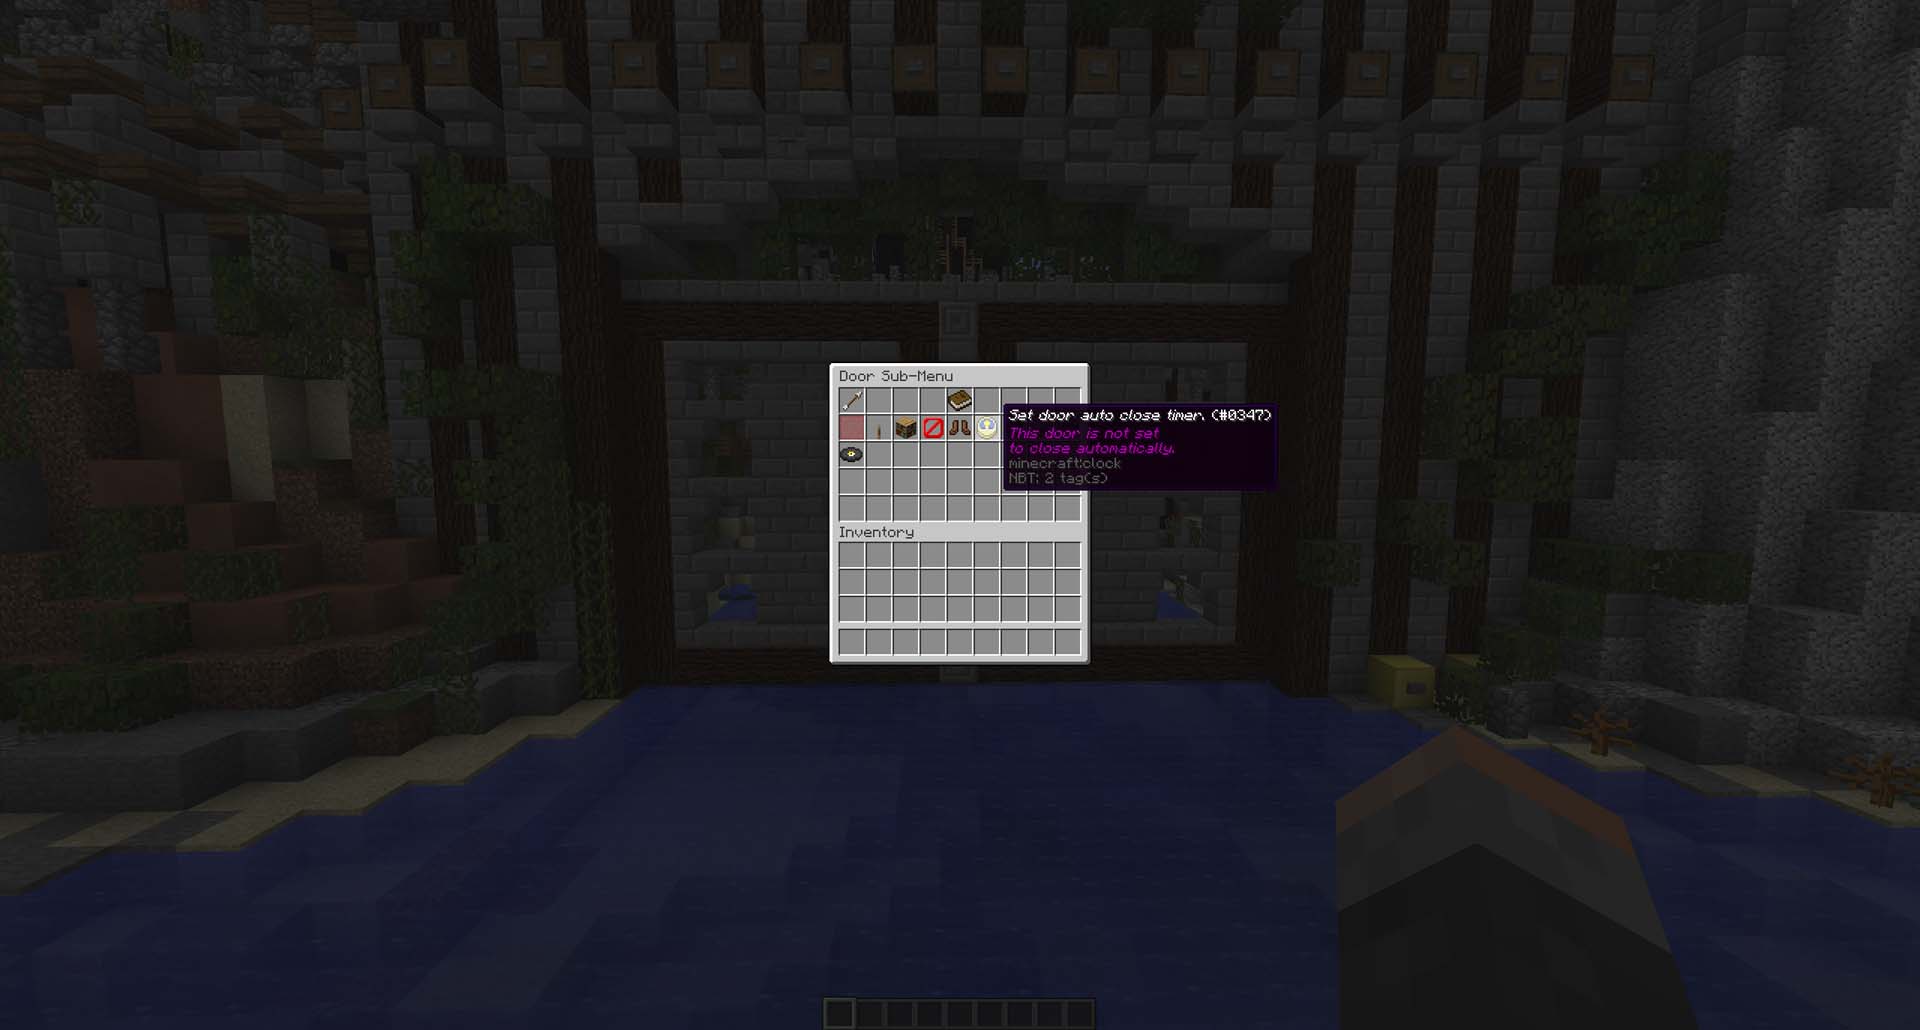
6. Optional: Auto closing timer
You can make your door automatically close after a certain amount of seconds, from /doors you can click on “Set door auto close timer” which will then prompt you to enter /setautoclosetime 3 into chat for your door to auto-close after 3 seconds!
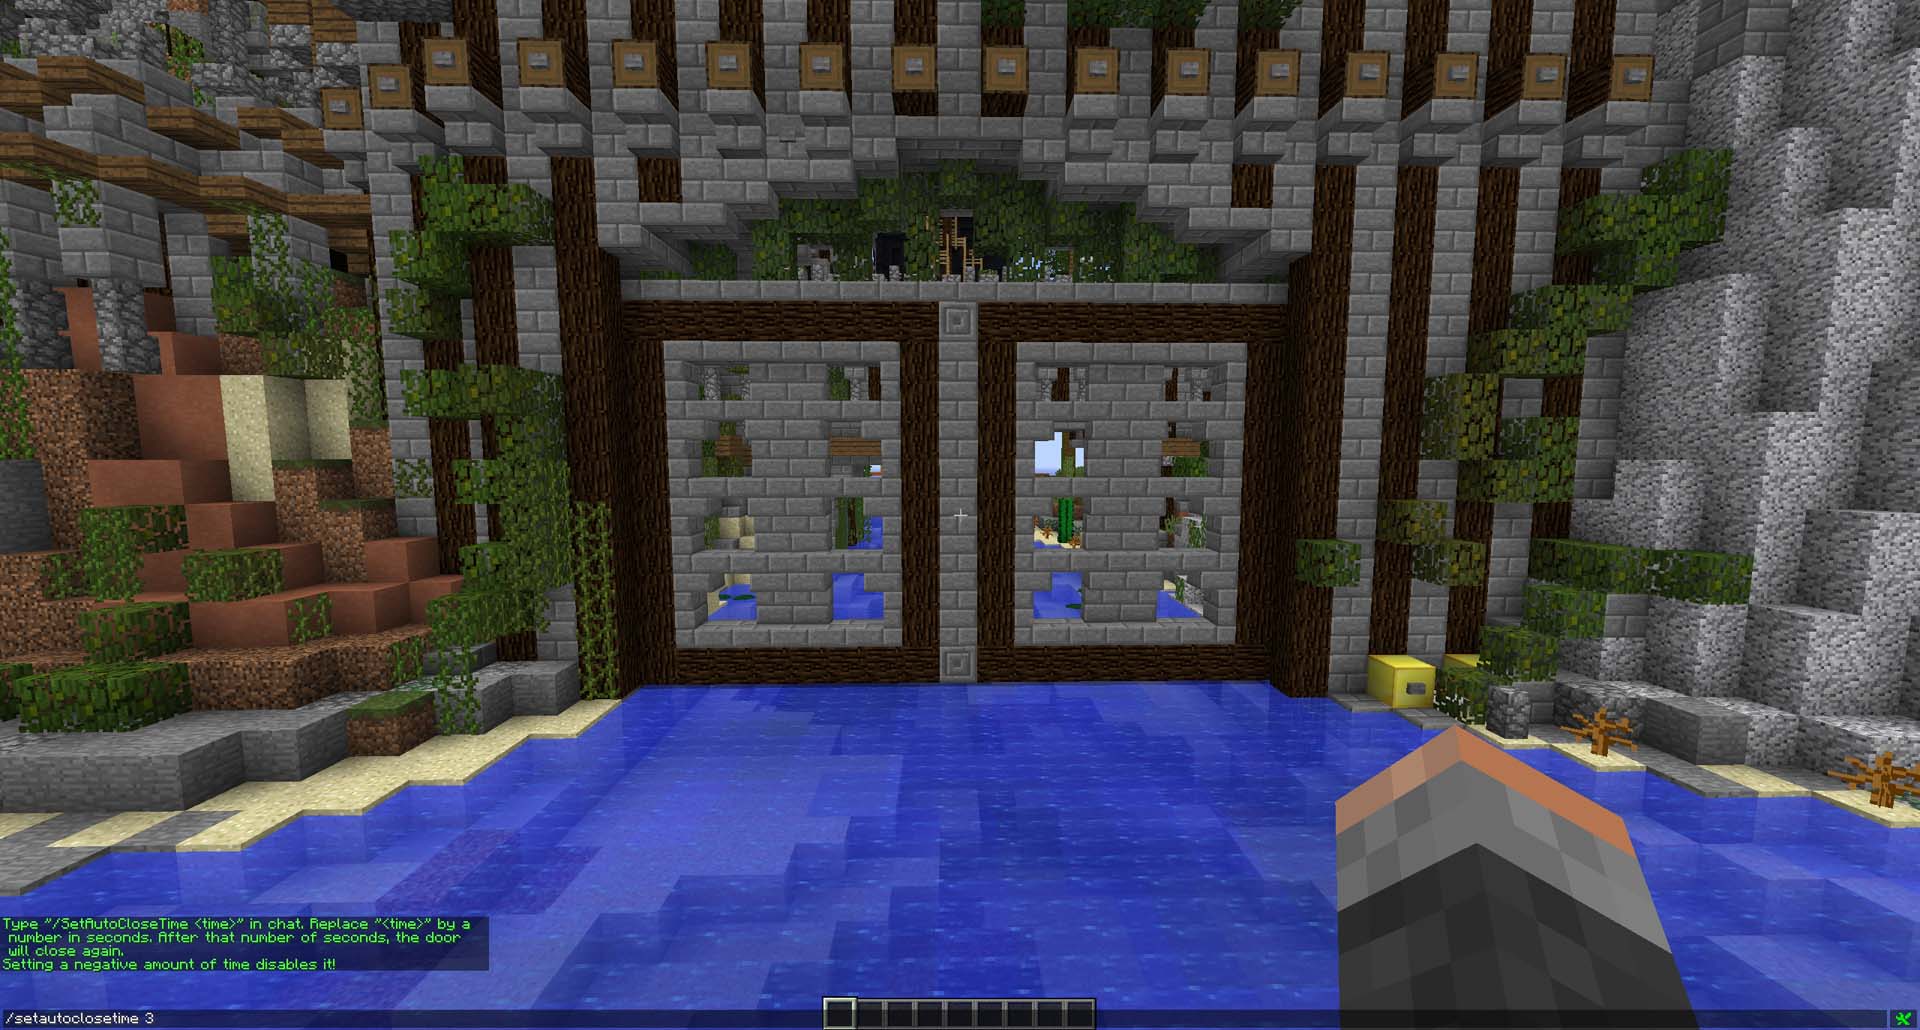
6a. When prompted use /setautoclosetime <seconds> in chat, a good starting point is 3 seconds! Make sure your door is shut first before setting this, otherwise its default closed position will be where you set this!
7. Optional: Control with restone using the “Power Block”
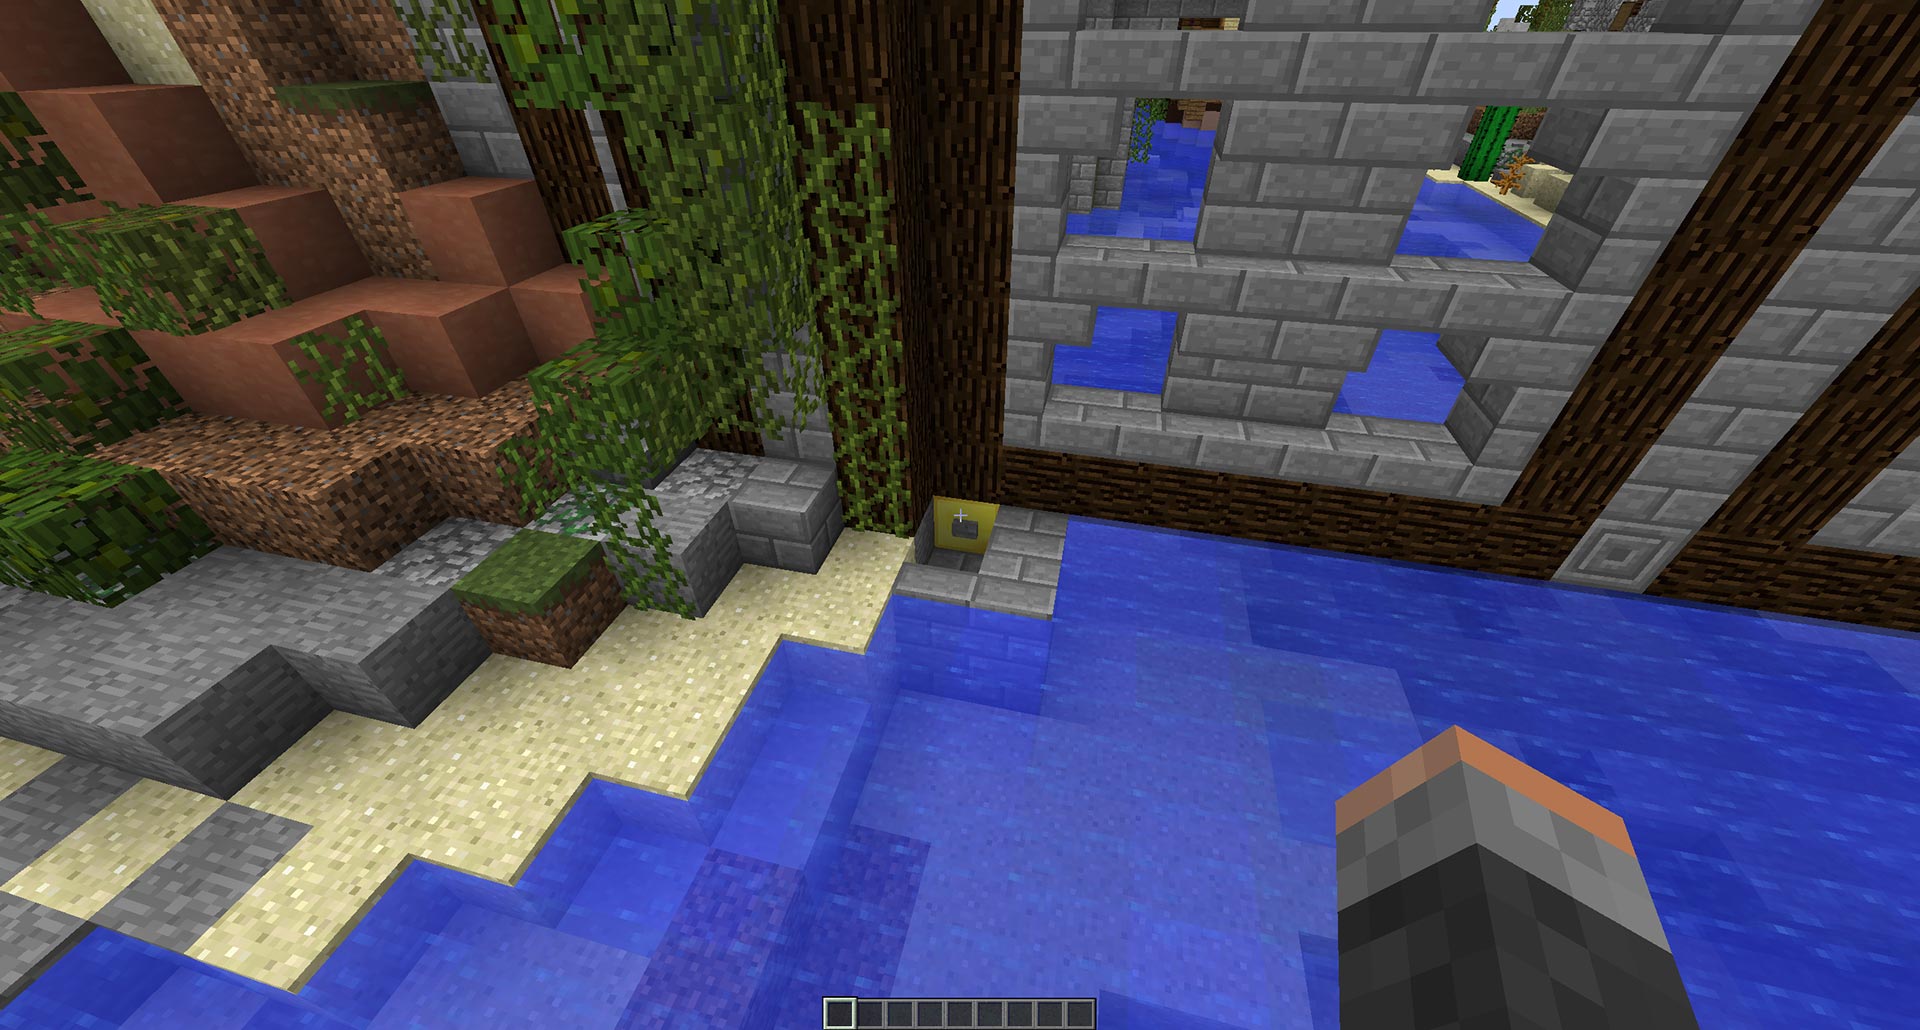
/doors can also be controlled via Redstone by placing a Gold Block under the doors hinge (Rotation point) automatically without any setup this is the position the Power Block must go, it must be a Gold block! This can be moved later on once unlocked when ranking up!
8. Optional: Relocate the Power Block
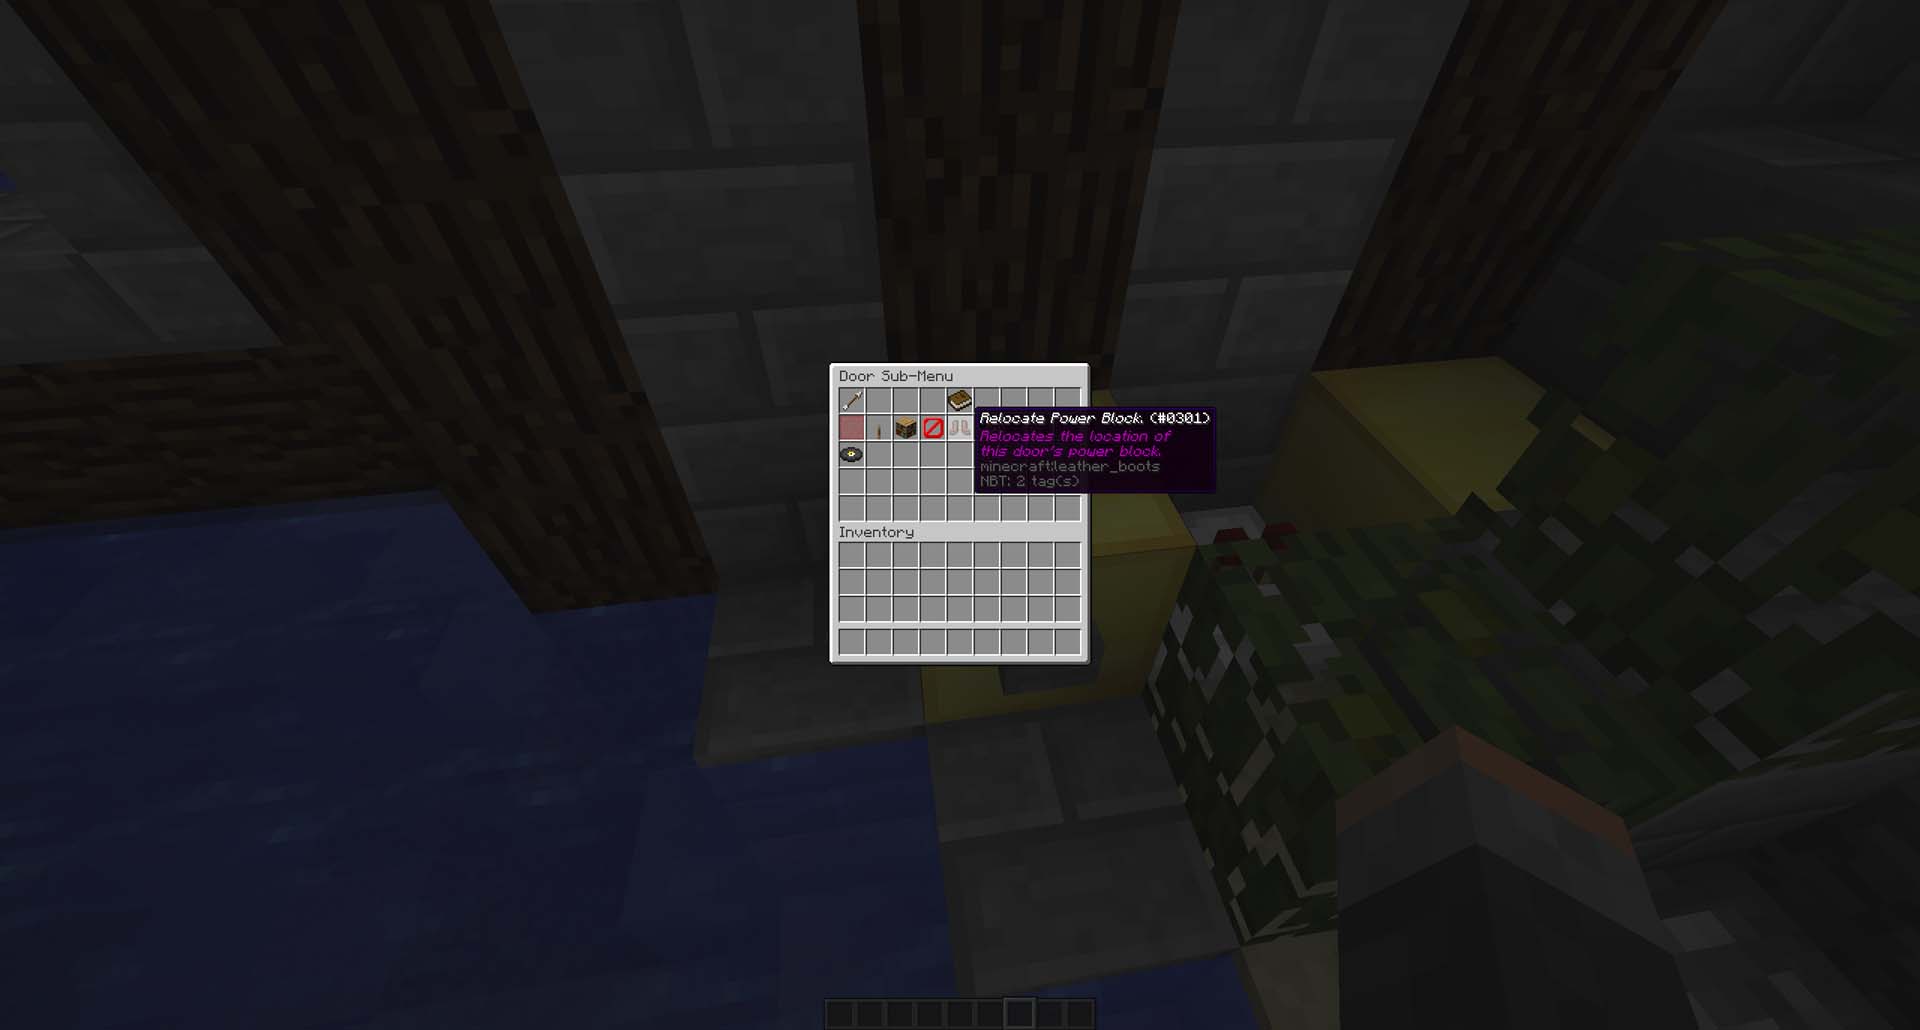
Having the power block always in this hinge location may be a pain with your Redstone, so once you have ranked up to Sailor you will be able to relocate the Power Block to within 25 blocks of your door (Wireless Redstone!) This matches the 25 block distance from shop signs (Which can be used to power this too!)
Select your door from /doors and select Relocate Power Block which will give you a tool to select a new Gold Block (Power Block)
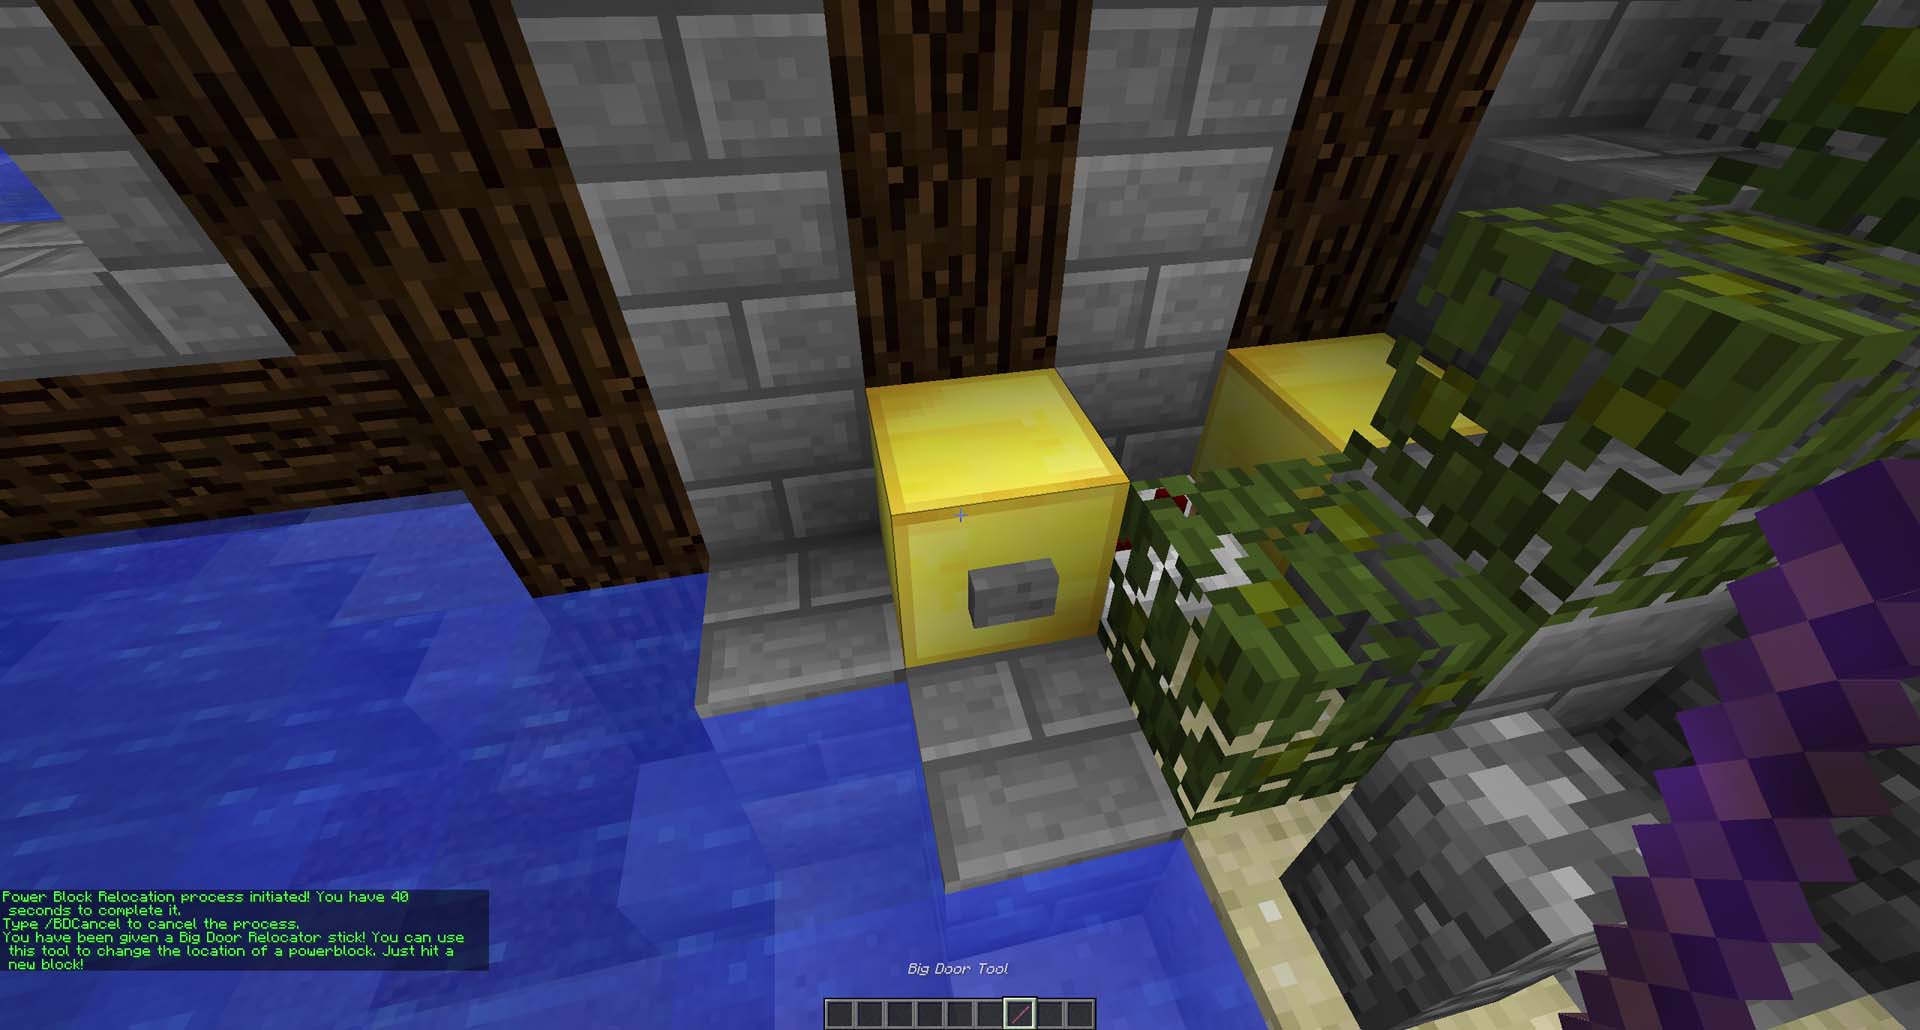
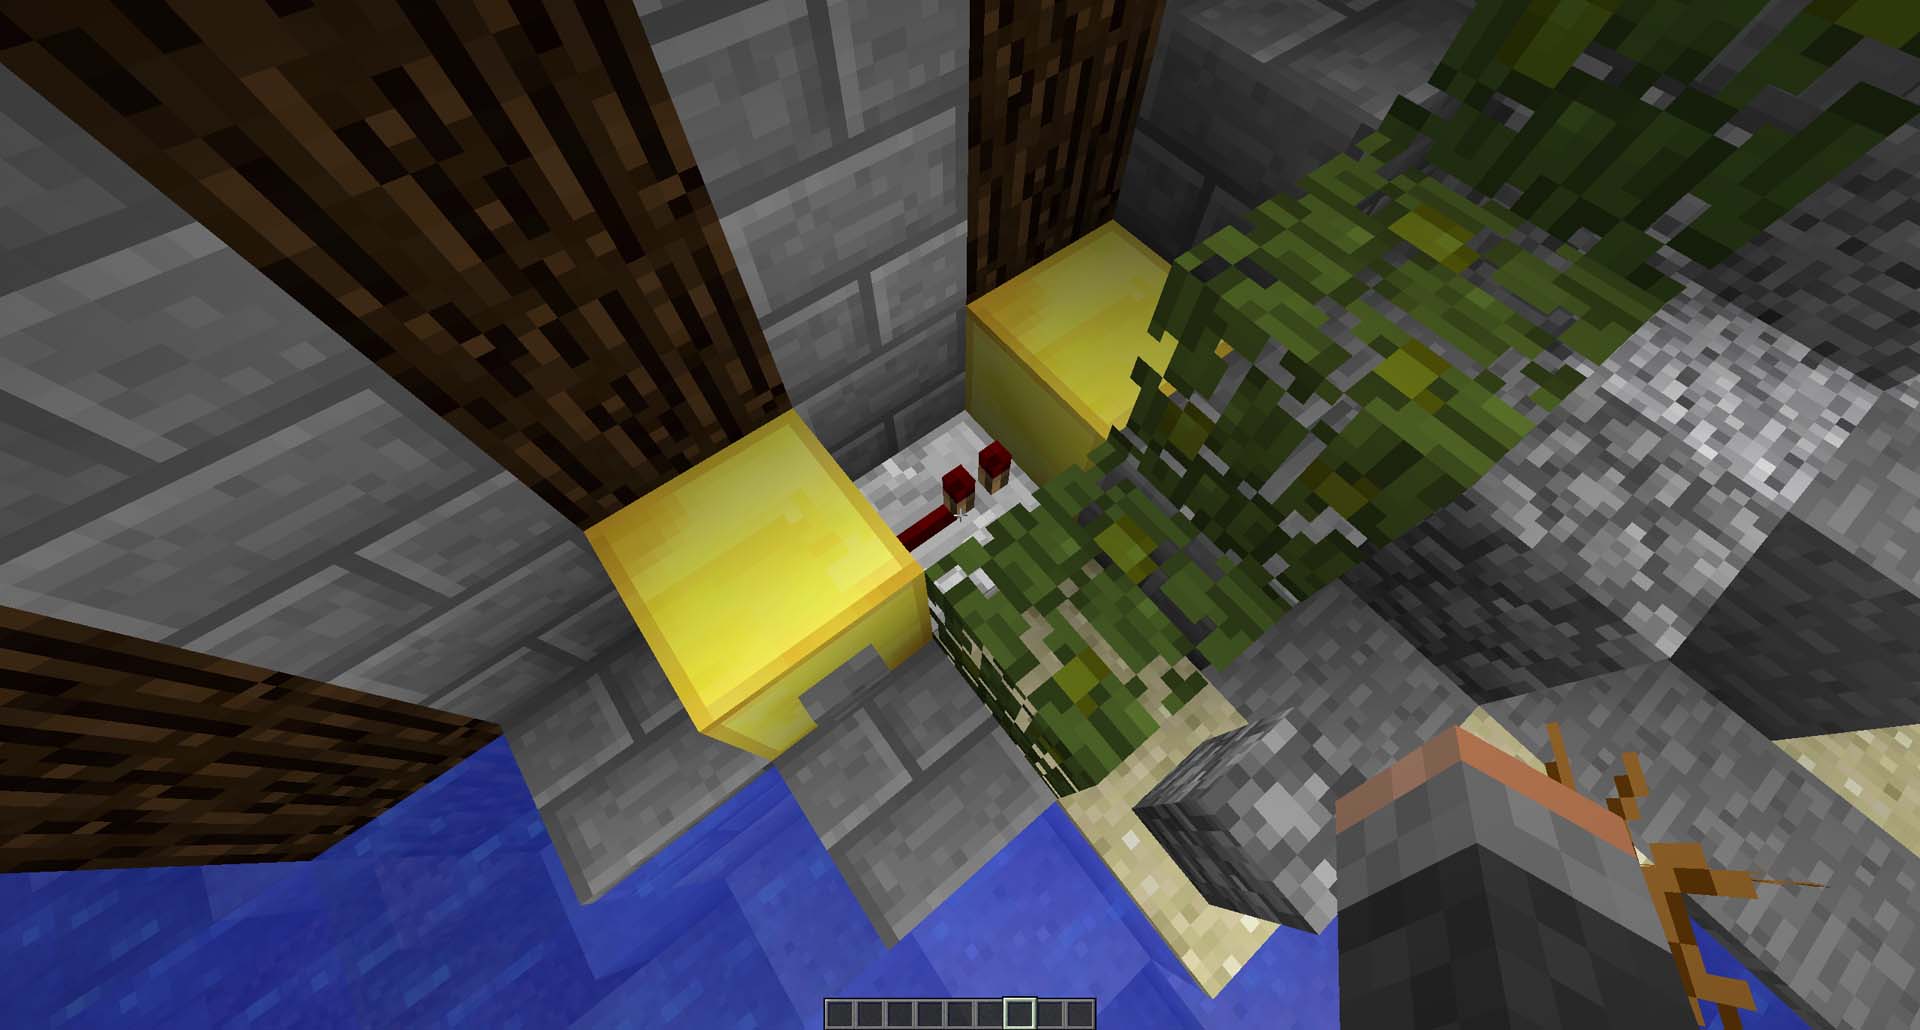
8a. Left-click a Gold Block you have placed within 25 blocks of your door to re-locate where you would like to control it from! You can run any red-stone to this block to control it!
9. Optional: Connect multiple doors to one power block to control two doors at once
You can make a second door to have duel opening doors by following from step 1 again.
You can not have 2 doors use the same power block, but you can easily power a second power block for a second door by having Redstone come off your first power block to power the second power block! They do not have to be this close, you can use normal Redstone!
How to make Drawbridges
You can build a drawbridge in the same way as creating a swinging door as above, just select “New Drawbridge” in /doors.
Drawbridges use the horizontal plane of a flat area instead of a vertical one like swinging doors.
The power block location is under the middle of the rotation point, you can use click “Door info” in /doors to get the exact location if you struggle.
How to make Portcullis Gates
You can build a Portcullis Gate in the same way as creating a swinging door as above, just select “New Portcullis” in /doors menu.
Portcullis gates are even simpler to create as they don’t require a rotation point as they go up and down!
The power block works the same, its 1 block under the Portcullis in the middle
The portcullis will look at how many blocks it can move up and down. If it can move further down than up or if the number of blocks is equal in both directions (it never goes further than its total height), it will move down for as many blocks as it can. Otherwise, it will go up.
How to make Sliding Doors
You can build a Sliding Door in the same way as creating a swinging door as above, just select “New Portcullis” in /doors menu.
Classic Gates and Bridges
Classic Portcullis Gates and Bridges use only vanilla Redstone and do not require and commands or signs to create! You can visit /tuts to see some working demos to copy!
How to create classic Bridge
- Build the bridge itself, out of slabs/half-blocks or double slabs.
- Make sure there is at least one block next to the bridge where you don’t want the bridge to move, so that it knows what direction to move into.
- Power one of the blocks underneath the bridge with redstone. Please note: you are powering a block underneath the bridge, not the bridge itself!
Tip: Running redstone wire underneath a block will power it. - If you power more than one block, the bridge will move faster! Two blocks doubles the speed.
- Make sure that when the bridge is fully extended it is still in contact with redstone power underneath. It can be the same blocks, or different ones.
- When the blocks receive redstone power, the bridge will move to the south or east (in other words, increasing x or z coordinates; depending on which direction is free), when they lose redstone power, it will move to the north or west (in other words, decreasing x or z coordinates).
- Bridges cannot float and do not move entities that are on top of them (This might change).
List of slabs for Classic bridges
This is the list of materials that can be used to create classic bridges.
  COBBLESTONE_SLAB,
  DARK_OAK_SLAB,
  DIORITE_SLAB,
  ANDESITE_SLAB,
  GRANITE_SLAB,
  JUNGLE_SLAB,
  NETHER_BRICK_SLAB,
  OAK_SLAB,
  QUARTZ_SLAB,
  SPRUCE_SLAB,
  STONE_BRICK_SLAB,
  STONE_SLAB,
  BIRCH_SLAB,
  ACACIA_SLAB,
  SMOOTH_STONE_SLAB,
  EXPOSED_CUT_COPPER_SLAB,
  CUT_COPPER_SLAB,
  CUT_SANDSTONE_SLAB,
  COBBLED_DEEPSLATE_SLAB,
  BLACKSTONE_SLAB,
  BRICK_SLAB,
  OXIDIZED_CUT_COPPER_SLAB,
  POLISHED_BLACKSTONE_BRICK_SLAB,
  POLISHED_BLACKSTONE_SLAB,
  POLISHED_DEEPSLATE_SLAB,
  DEEPSLATE_BRICK_SLAB,
  DEEPSLATE_TILE_SLAB,
  WAXED_CUT_COPPER_SLAB,
  WAXED_EXPOSED_CUT_COPPER_SLAB,
  WAXED_WEATHERED_CUT_COPPER_SLAB,
  WEATHERED_CUT_COPPER_SLAB,
  WAXED_OXIDIZED_CUT_COPPER_SLAB
Classic Bridge Video Tutorial
How to create classic portcullis gates
- Build the portcullis itself by stacking rows of fences (wood, iron or nether brick fence), at least two wide and two high.
- Contain the portcullis with a wall. Leave enough empty space above/below the portcullis to allow it to go as high/low as you want it to go.
- Power the portcullis by powering one of the blocks adjacent to it on either side, by attaching a lever or redstone dust. For now, the power has to come from the side.
- Important: Make sure an elevated portcullis is still in contact with a powered adjacent block, otherwise it won’t be able to be sent back down! (Same or different one, doesnt matter)
- When the power goes off, the portcullis will drop down (a lot faster than it went up).
- Gold blocks can be used as optional power blocks to send a redstone power signal to if you are restricted on room.
Example Classic Portcullis Gates

There are multiple example portcullis gates that can be used and copied from /tuts.
Classic portcullis gate video tutorial
Design Inspiration