Forts and defences: Better builds
April 24, 2015 11:06 am in Building. 6 Comments
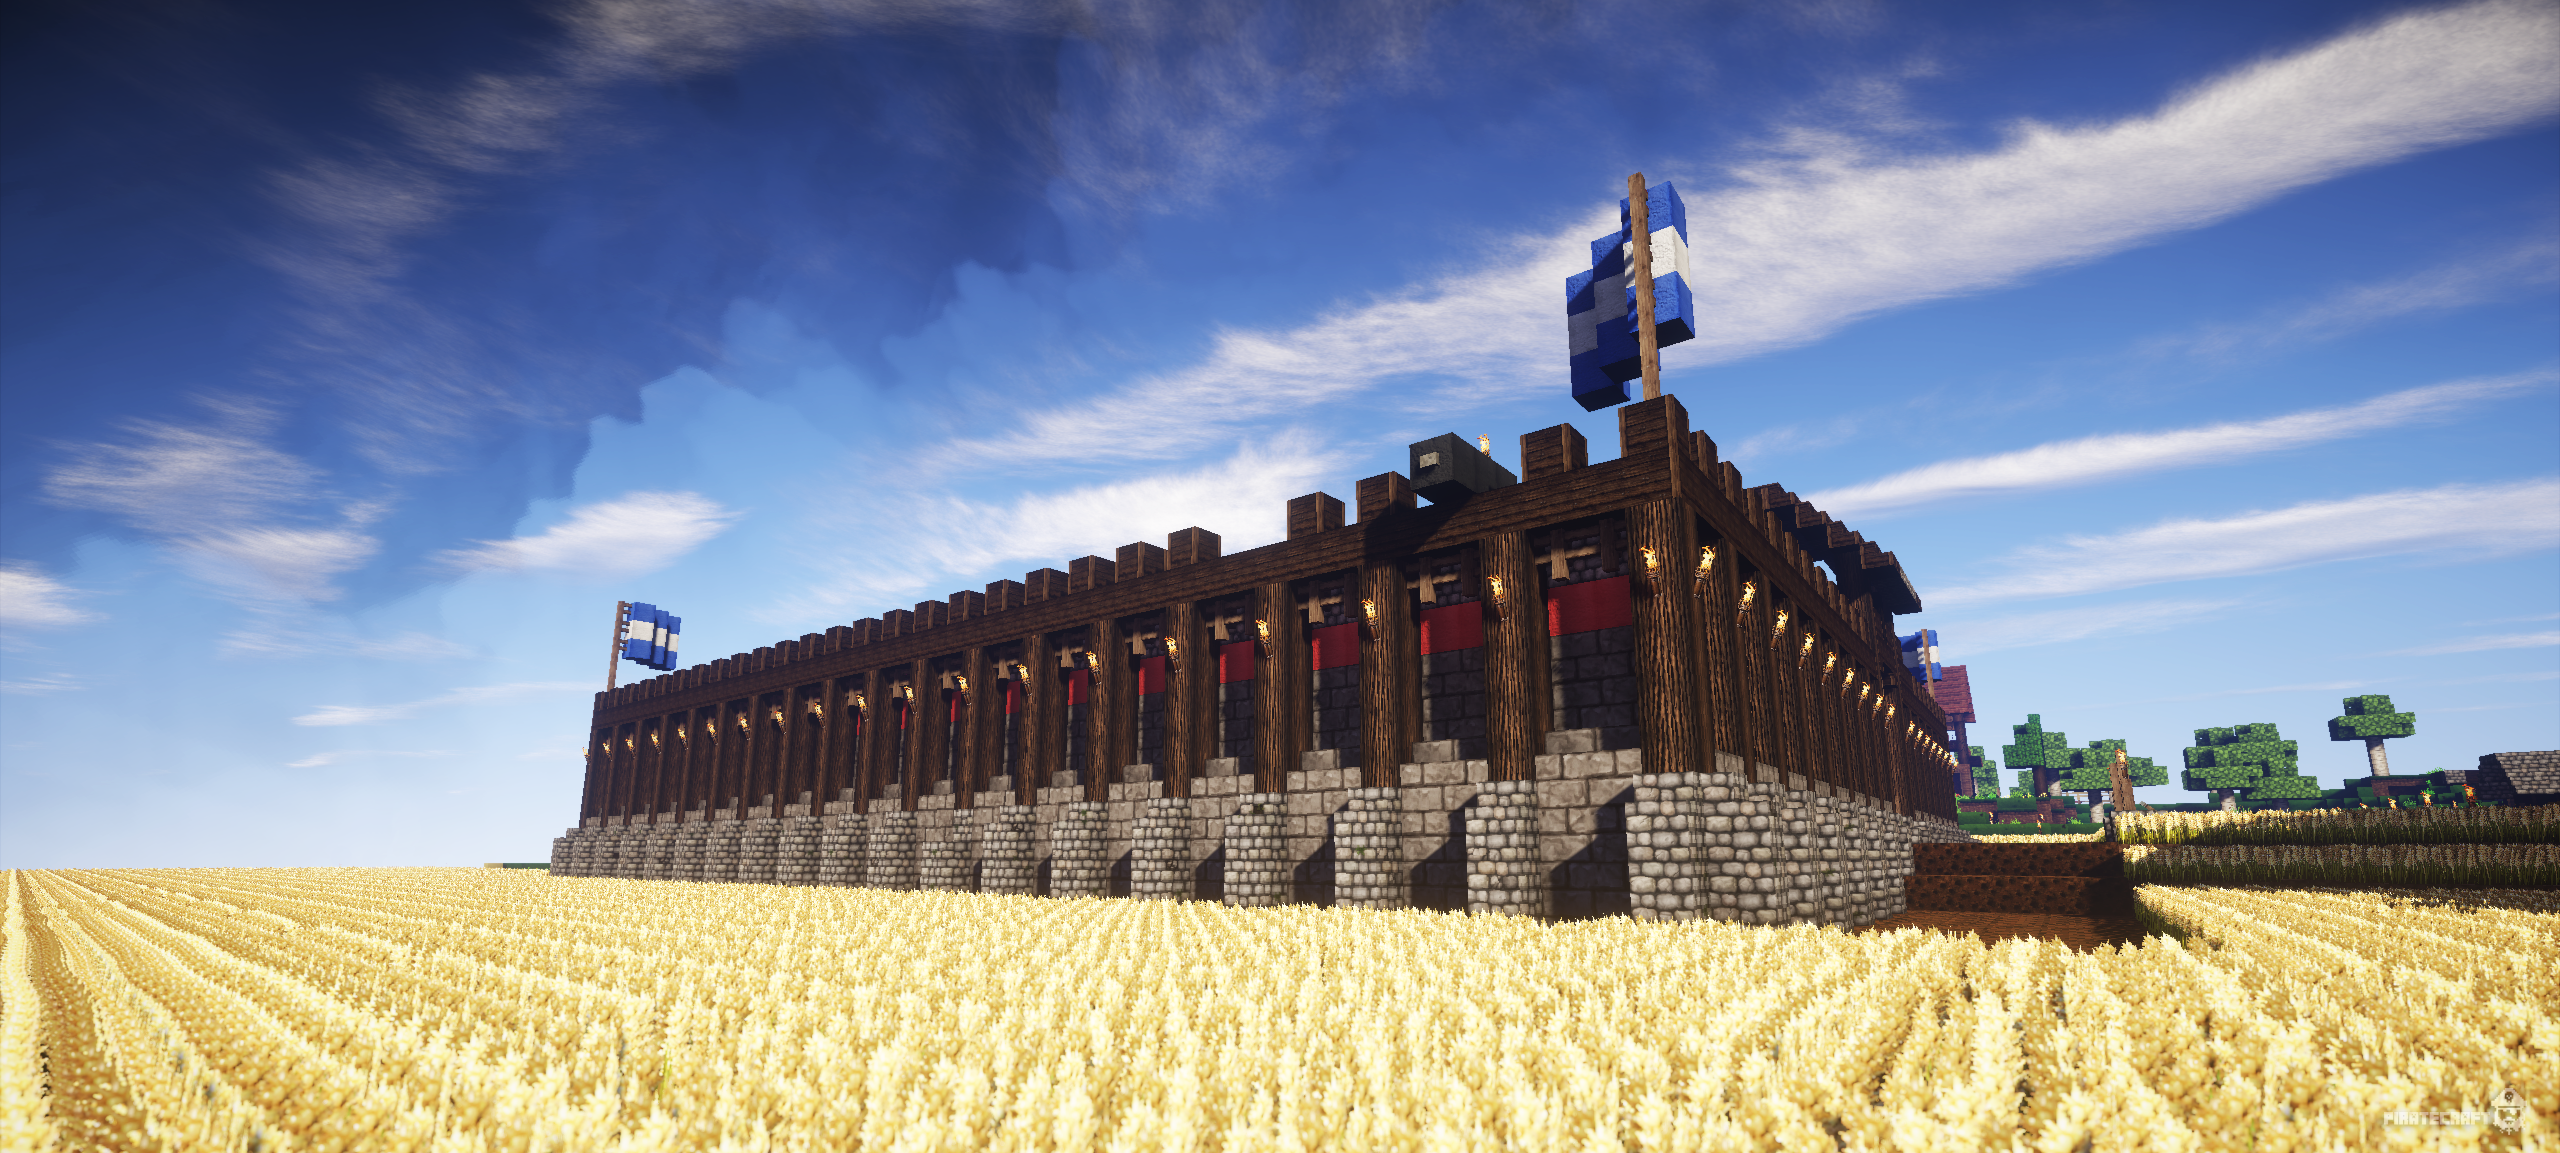
Ahoy thar! This week’s blog post be about forts, and how you can build (and improve) them! According to dictionary.com, a fort is “A strong or fortified place occupied by troops and usually surrounded by walls, ditches and other defensive works”. I will be basing this post around this definition.
One thing you may be concerned about when building a fort is the number of claim blocks you would need to use. This should not be a concern to you, as 10×10 forts have been built on the server before! According to Wikipedia, starting 4700 BC, Solnitsata, a town located in where Bulgaria is now, was home to 350 people, and had a diameter of 100 metres. Knowing that one block in Minecraft is equal to 1 metre, we know that this would be a diameter of 100 blocks. I will try and write this post with a mind that the forts you’re planning to build are between 10×10 (100 claim blocks) and 100×100 (10,000 claim blocks). With this in mind, let’s get started!
The fort’s walls
Walls are the main part of any fort. We want them to look good as well as fulfil their purpose. We can do this by using siege-proof blocks. I tend to find that using materials that work together makes the wall look more pleasing. Block combinations that I tend to find work well are as follows (substitutes are shown in brackets):
- Stone (Stone brick (chiselled stone brick, cracked stone brick), cobblestone, andesite (smooth), diorite (smooth), granite (smooth), stone slabs), sandstone, quartz, nether brick, quartz pillars
- Stone (Stone brick (chiselled stone brick, cracked stone brick), cobblestone, andesite (smooth), diorite (smooth), granite (smooth), stone slabs), spruce logs (dark oak logs), spruce planks (dark oak planks)
When building forts, I personally enjoy using stone blocks (and their variants), stone slabs, sandstone and/or nether brick, as these are all siege-proof and look good together. If you’re planning to use a fort for defensive purposes, it is worth implementing cannons or mortars regularly throughout the build.

The fort’s entrance
The entrance one might decide to use for their fort depends on several things, not least the size of the fort. If I were to put numbers on when I, personally, would stop using doors and start using portcullises, I would say around 30×30 blocks. PirateCraft lets you build working Portcullis gates. If you do choose to implement a portcullis into your fort, it may be worth building a gatehouse. If you decide to build a gatehouse, though it’s not compulsory on every fort, see the next section.

The fort’s gatehouse
Generally, gatehouses were made up of the entrance, usually a portcullis, with a guard tower on either side. There is also usually a walkway between the two towers. The main purpose of the gatehouse was to control who came into the fort or castle. For those interested in building a gatehouse, you may wish to build a roof over the walkway connecting the two towers. If you do decide to build a roof, you give yourself the opportunity to build with a (disappointingly) lesser-used block: cobblestone wall. Cobblestone wall, or fences, could be used as pillars to hold the roof up. They could also provide gaps for the guards to look out of as they cross from one tower to the other. Just remember to place the cobblestone wall or the fences every other block, so that they don’t connect.

The fort’s towers
Depending on the size and type of fort, towers may not be necessary. However, most people who build forts add towers to them. If you’re building a well-maintained fort, it makes sense for your towers to be identical; however, if you’re building a ruined tower, your towers may be different depending on how much each tower is ruined. It’s tempting to believe that a tower should be a tall, stone or stone brick cylinder. While this is a valid tower, it will not be aesthetically pleasing. Towers come in different shapes. Some towers, for instance, are square. When building the tower, you should try and build with the same style as the wall that the tower connects to. This will make the build flow more. A sandstone wall with a stone tower is not going to look good on a build. In order for the build to look proportional, the tower should be no more than twice as tall as the wall. Historically, towers were built at regular intervals on the wall, as well as, provided the fort was polygonal, on each corner of the fort. This makes the build look more organised, therefore not only making it look better, but also making it easier to build.

The fort’s interior
What you decide to do with the interior of the fort vastly depends on the size you decided to build the fort. If you build a fort with a size small enough to have a door as opposed to a portcullis, then I would recommend making it a roofed building, with battlements (made up of merlons and embrasures (these are the bits on a castle wall that go up and down, see image below)). It is also worth providing arrow slits from the roof, so that archers can shoot at enemies whilst remaining well defended. One way of doing this is by placing stairs in the place of two blocks one on top of the other. Put the stairs at the bottom the right way up and the stairs above them upside-down. This will provide a fraction of a block that arrows can be fired through.

If you build your fort large enough to incorporate a portcullis instead of a door, then the interior, historically, would consist mainly of a castle. You may, however, choose to build more militaristic buildings inside the walls instead. Such buildings could include, but are not limited to:
- Barracks
- Armoury
- Blacksmith
- Housing
- Mess hall
- Religious building(s).
Having appropriate facilities within the fort makes the fort significantly easier to defend, due to the ability to make appropriate weapons and armour for armed forces.


That’s all for this week, ye yellow-jack flying, scurvy-ridden lice infested bilge rats. I hope you find this post useful. Send me any screenshots of forts you’ve built on the server for a chance to be featured in a build review blog post! Send me a private message with the subject SCREENSHOT and a link to imgur with your screenshot(s) uploaded. Thank you all very much for reading! See you next week!
View Other posts by Charlie
Written by Charlie
Categorised in: Building
Tags: 1.8.3, 1.8.4, fort history, how to build a minecraft fort, minecraft, minecraft 1.8, minecraft building tutorial, minecraft castle, minecraft fort, minecraft fort examples, minecraft gatehouse, minecraft pirate town, minecraft towers, minecraft walls, pirate minecraft, piratecraft, piratemc, rendered minecraft fort, server
Posted on April 24, 2015


6 Comments
sabrina (lazydog11)
This is great to read. Gives me more idea to build. Nice screenshots. 🙂 (sorry for my bad english) 🙁
PaulOnFire
I’ve only just seen this post, Chailey. It’s really good looking! Kudos to you. 😀
MCMonkeyGMx
These builds are really good and this is really helpful.
_PigGuardian_
How do I make that type of special gate that has underground redstone. Also it goes underground and backup?
GodsDead
Use /warp gates in-game its just a normal gate 🙂 you can also check out http://piratemc.com/guides/portcullis/
MCMonkeyGMx
I am going to use this info for my Empire I’m going to build